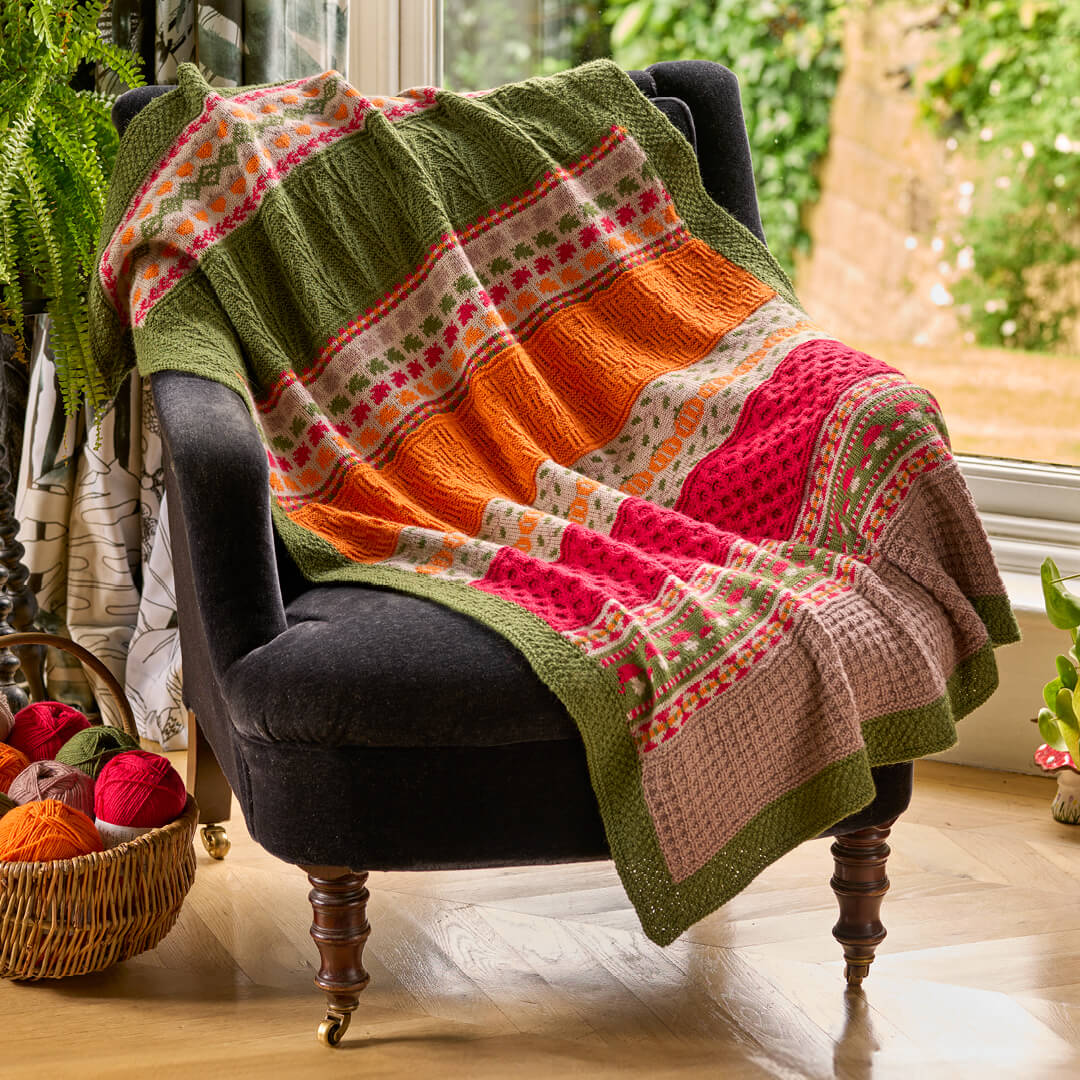
This blog post records my progress as I follow along and knit the WYS Forager Blanket for the shop.
...
Start here
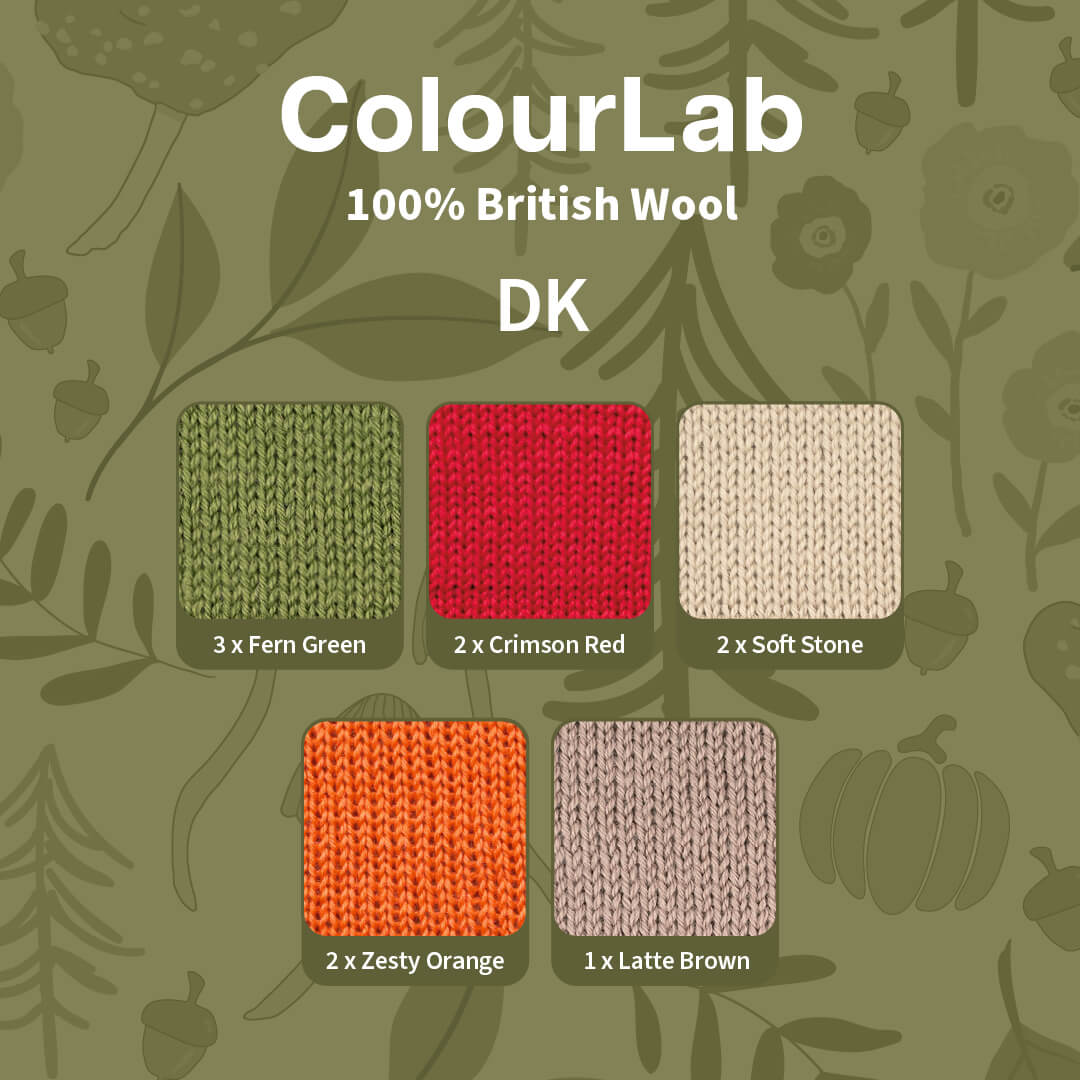
West Yorkshire Spinners are hosting an autumn Knit ALong for a blanket using their ColourLab DK yarn.
The Forager Blanket is designed by Chloe Elizabeth Birch and takes inspiration from autumn foliage and colours from the ground up into the treetops with its charming and enchanting motifs.
The pattern was released in 4 weekly parts.
9th Oct - Marvellous Mushrooms
16th Oct - Pumpkin Picking
23rd Oct - Changing Leaves
30th Oct - Falling Acorns
You can now download the whole pattern here.

I'm going to try and do the KAL in real time.
-
lots of stranded colourwork - which I love
-
cables - which I don't love so much
-
knit and purl combos - which are satisfyingly simple
Part 1 begins with a 192 stitch cast on. I used a Long Tail Cast On to give a reasonably stretchy edge. I don't want it to pull in.
I cast on on Wednesday night and completed the first block of Part 1 on Saturday morning.

Taking two steps back - find out more about colour dominance in stranded colourwork knitting here and two-handed colourwork knitting here.
The first thing to remember is to make sure the stitches on the right-hand needle are neatly spaced before you strand across the back of them. Stitches can get bunched up on the right hand needle. If you strand across these bunched up stitches you will get some puckering on the front of your work.
The second thing to think about is float management. Many knitters catch/trap the stranded yarn at the back of their work if they are stranding across 5 or 8 stitches. This can keep your knitting neater and stop things getting caught in the strands at the back of your work.
I don't normally do this. I recently talk about it in the blog post on Lunaberry - a children's jumper with a stranded colourwork yoke.
Given this is a blanket with the wrong side on show I thought I'd catch the floats this time.
Looking at the colourwork chart there are several instances in the pattern where the unused yarn would float across 5-8 stitches and I would have to catch/trap the floats on both the knit and purl rows. I decided to catch the float every 3 stitches (roughly).
I found these videos on YouTube which I found helpful in how to catch the floats and keep the sides neat and avoid holes.
But then! There was a third surprising issue - there are 2 rows where you are using 3 colours! That means you have to carry 2 unused colours along the back of your work. I don't think I've ever done this before. I also had to do it on the right and wrong side of the work.
But instead of taking my time and maintaining a consistent yarn position for the colours or even looking up how best to do it... I just did it... and I'm not happy with the outcome. 😞
My yarns got twisted, I lost my colour dominance and I gave up catching floats. You can see the difference on the back of the work.

I would like to share a tutorial here of stranding with 3 colours in flat knitting but I haven't found one...😆
I think the advice I can give is to maintain your dominant colours and just take your time!
And remember, it's only 2 rows.
Overall it doesn't look too bad on the front but I really have to decide NOW if I've going to unpick it and redo the three colour row. But I think I won't really know how bad it is until I've finished that section - about another 20 rows to go - and washed it. Stranded colourwork always looks better after a soak.

Part 2 - Pumpkin Picking
So! I decided not to unpick my wonky stranding-3-colours rows. And I powered through the last of part 1. I think washing and blocking will fix some of the distortion and hopefully the 'busyness' of the rest of blanket will distract from it.😆

Part 2 starts with a honeycomb cable section and then there's more colourwork (which thankfully looks straightforward).
(Actually, Part 2 starts with a increase! We go from 192 stitches to 236 stitches).
I'm not a fan of knitting cables. They can feel a bit stop and start, like I'm building something.
Cabling is essentially knitting your stitches in a different order to how they present on the needle. This creates lots of 3D texture as the knitting appears to curve and weave in and out across the surface.
There are lots and lots and lots of different cable patterns. Some with relatively simple twists and others with much more complex weaves.
To change the order in which you knit the stitches you can use a cable needle to hold some stitches whilst you knit others from your knitting needle. The cable needle (like a short DPN) can be held at the front or back of your knitting creating stitches that curve left or right. Hence the stopping and starting. However, the actual cabling row is often just 1 row in several so it's not too bad.

For this honeycomb cable there are only 2 cable rows in the 8 row pattern repeat. Which is just as well, because on those cable rows you are knitting all the stitches out of order. So that's a lot of stopping and starting.😆
Over the years I've learnt to work cabling without a cable needle. This technique works well when the cable is worked over a small number of stitches - like 4 or 6. You are basically sliding stitches off the needle and letting them dangle free whilst you reorder them on your left needle.
Tin Can Knits has a great tutorial showing you how its done on a 4 and 6 stitch cable.
You do have to be gentle with your knitting whilst doing this. Working with a DK yarn does mean the stitches are a wee bit small so you have to be smooth and confident with your movements! But I find it definitely suits me better.
I'm still very slow though.

I'm only just half way through the cable section and there's still all the colourwork to do and part 3 will be released on 23rd October.😬
I'm feeling proud of what I've achieved so far. The stranded colourwork looks mostly good, I did not give up on the 3-colour rows and I'm cabling!
30th October update
One week later and I'm still working on Part 2! I only have about 6 rows left then I can move onto Part 3. Part 4 has of course now been released too... So I'm 2 weeks behind now.

The cabling was actually ok in the end. I felt not using a cable needle really helped my flow and I found it quicker to work and less frustrating.

The pumpkin colourwork section was also straightforward. There's only a few rows were I felt compelled to catch the floats.
And once I stopped trying to do two-handed colourwork on the wrong side purl row it all went a lot smoother.

Part 3 features twisted stitches and more stranded colourwork. Hopefully I'll be able to maintain my momentum before more cabling in Part 4!
(and lets not mention the Irish moss stitch border)
5th November update

I have just about completed half of Part 3 - Changing Leaves.
This half uses a combination of knits and purls to make a checkerboard effect.

You also knit and purl into the back of stitches to add even more texture.
Like the first half of Part 1 this is a relatively simple block although I found I had to pay very close attention at each pattern change. Turns out I can't watch TV and count to 5 at the same time.
The second half of Part 3 is more stranded colourwork which looks straightforward but it's over 46 rows so it will take some time to do.
I am very slow at purling stranded colourwork but I am happy with how neat it's looking now I have slowed down.😆
The back is looking good too (just ignore the mess of the mushroom 3-colour row.

14th November Update

Not much progress to report this week. I'm still on Part 3.

26th November Update
Still on Part 3! I've now completed 2 rows of leaves.

Nicola brought her FINISHED Forager Blanket to our Wednesday night Shop Group. I'm using this as motivation to get mine finished. 😆

22nd December Update
I have finally finished Part 3!

The stranded colourwork in this section is not complex. I'm not sure why it took me so long to complete. Probably a lack of knitting time and my enthusiasm waning.
I also made a big mistake. Having completed the leaves at night, I picked up the blanket to finish the stranded colourwork section the next day and... used the wrong chart. It took me 4 rows to realise. One good thing is that ColourLab DK is quite a sticky yarn so I could remove my needles, gentle rip back the wrong pattern and then slide the stitches back onto the needle.
Part 4 begins with a 1x1 cable pattern. Which I'm definitely going to try and do without a cable needle.
25th February Update

Oh.
It's been a while. 😆
It's taken me a long time to get through the first part of Part 4. Mostly because I was working on other projects but also because I'm not a fan of cabling.
AT ALL.
Part 4 uses Cr2R and cr2L cables to create a branch like stitch pattern.
Unlike the cabling in Part 2 this crossing cable is done every other row so I really was hoping to not use a cable needle (I feel it interferes with the flow of my knitting, making it feel stop start).
I did try for a few rows but the stitches were too small and too tight. It was not saving me much time and it wasn't making the knitting any smoother. So I ended up using a cable needle to hold the stitches.

I admit this section almost broke me so I'm very proud of myself for getting it done. I definitely needed to take my time with it.
I've now just got 46 rows of stranded colourwork to do then a whole lot of moss stitch.😬
...
Forager Blanket is a free pattern from WYS released in 4 parts in October 2024. You can download the pattern here. We have kits to knit this blanket in the shop and online.


