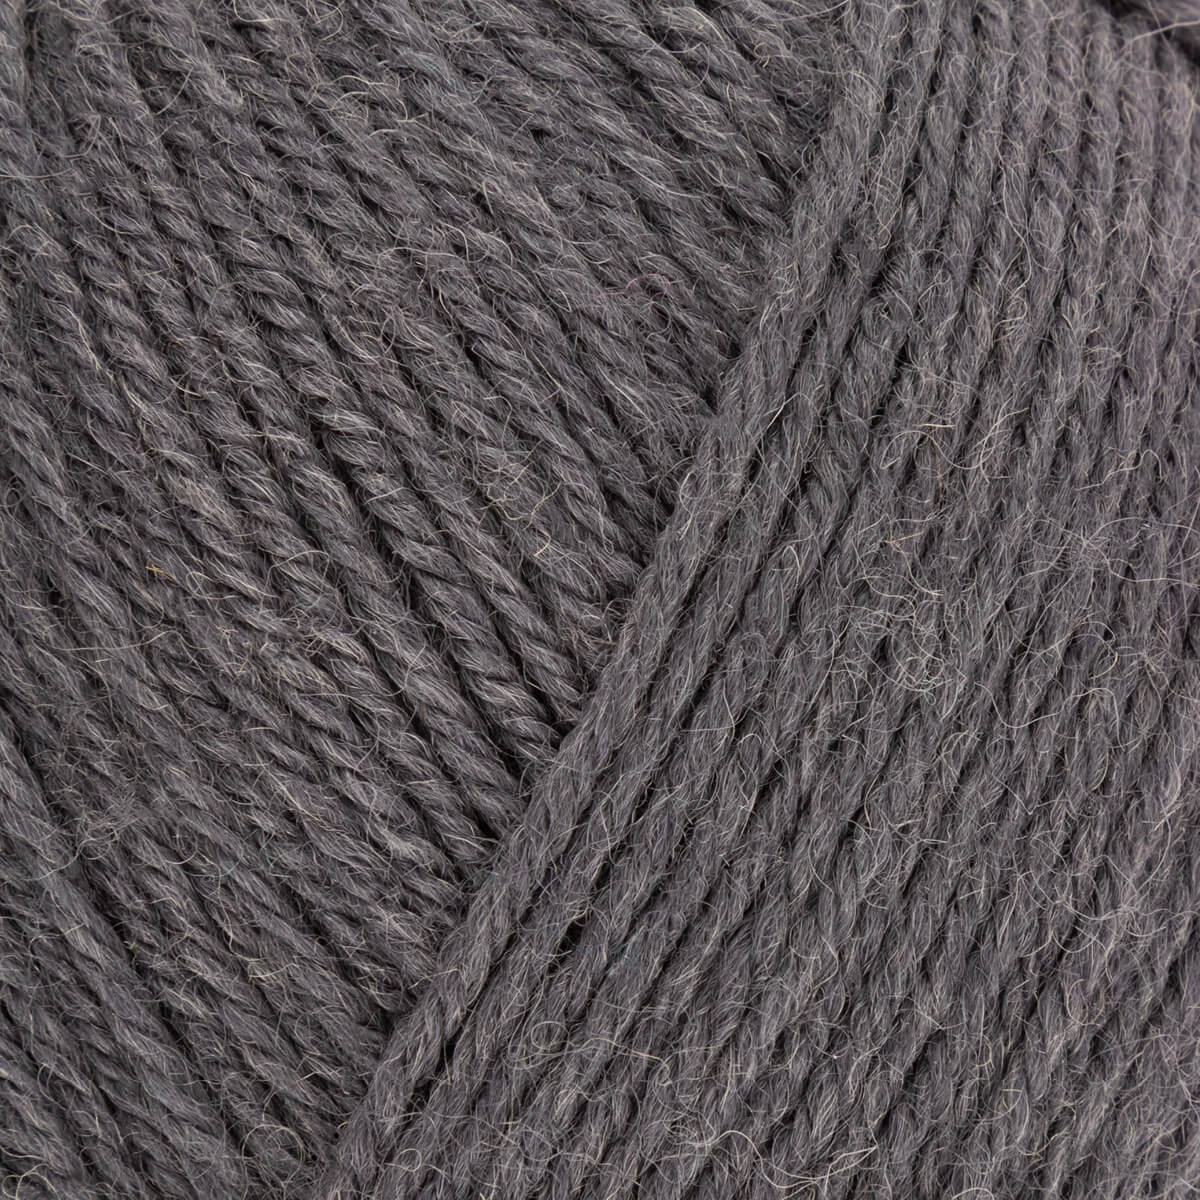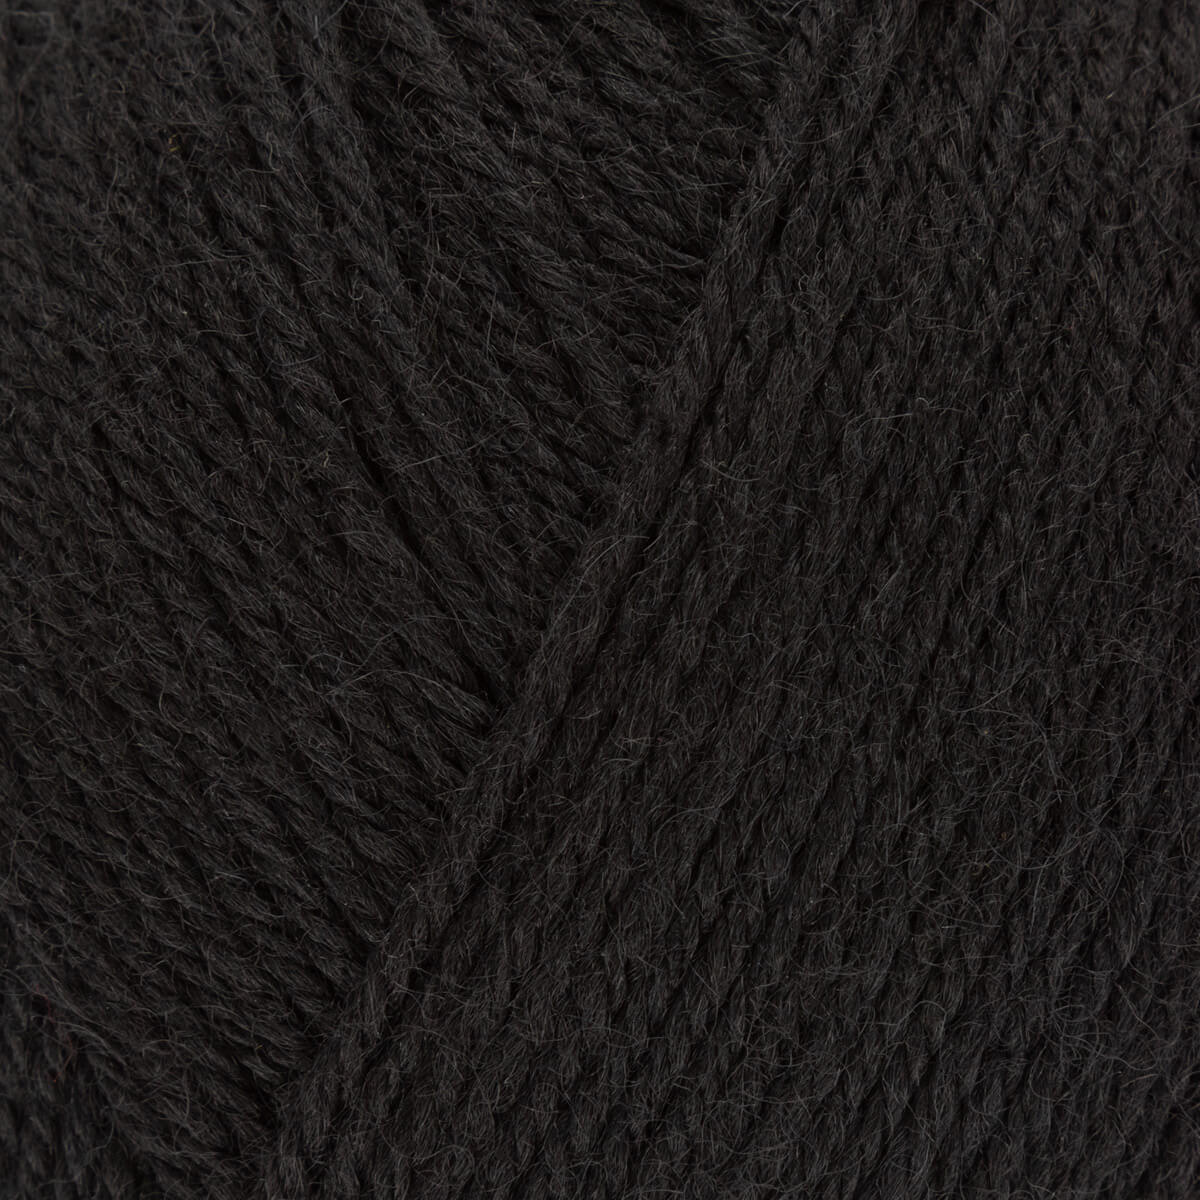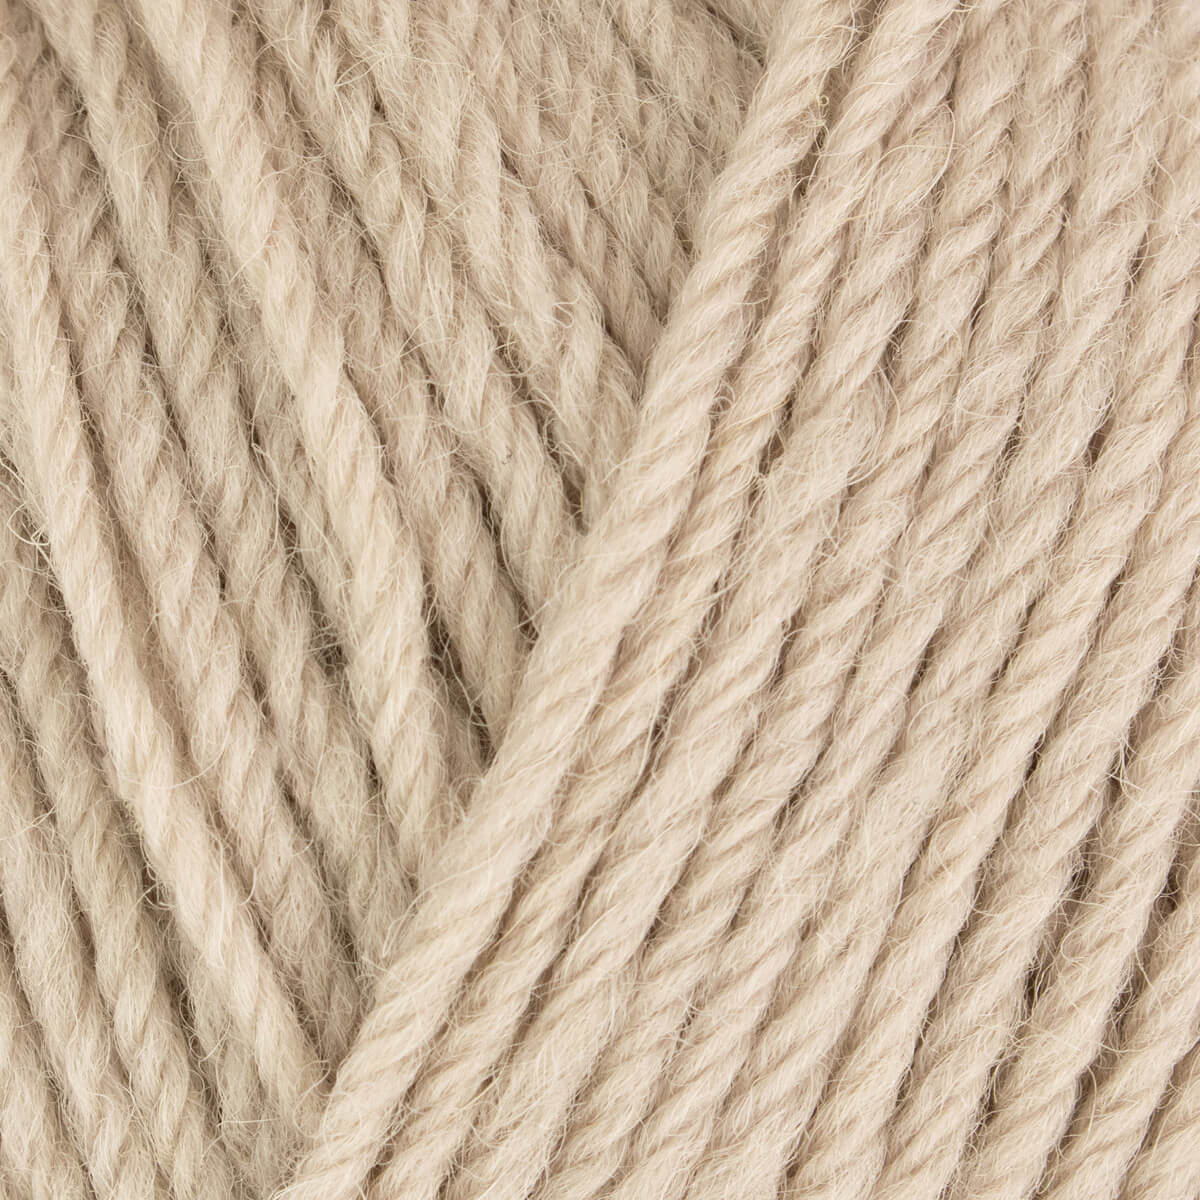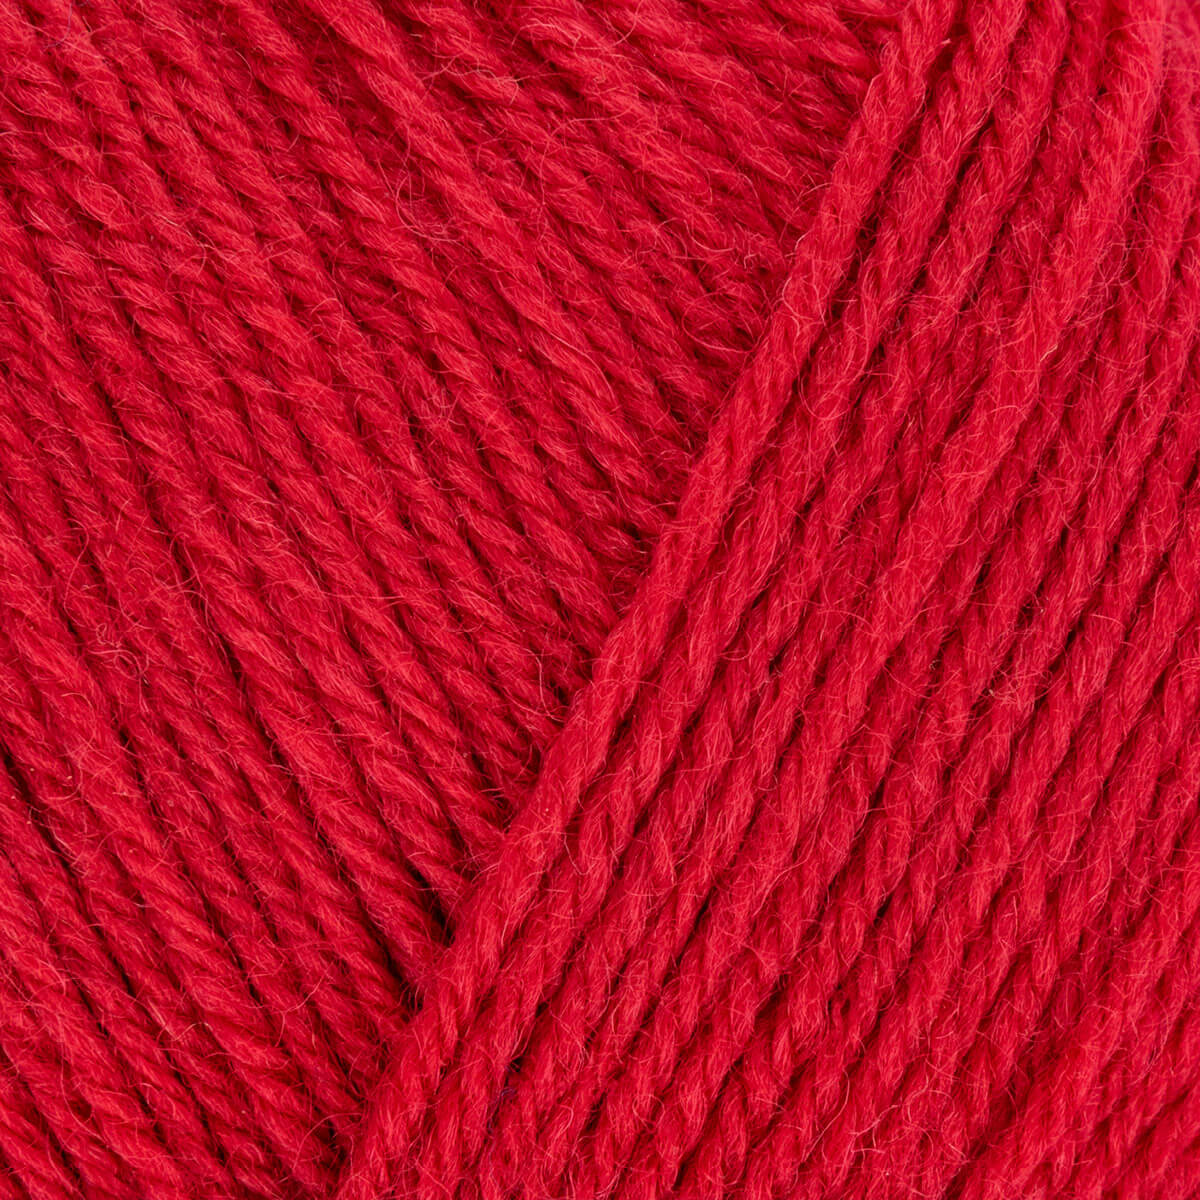
Sami from Life in Colour by Chloe Birch.
Sami is finished!
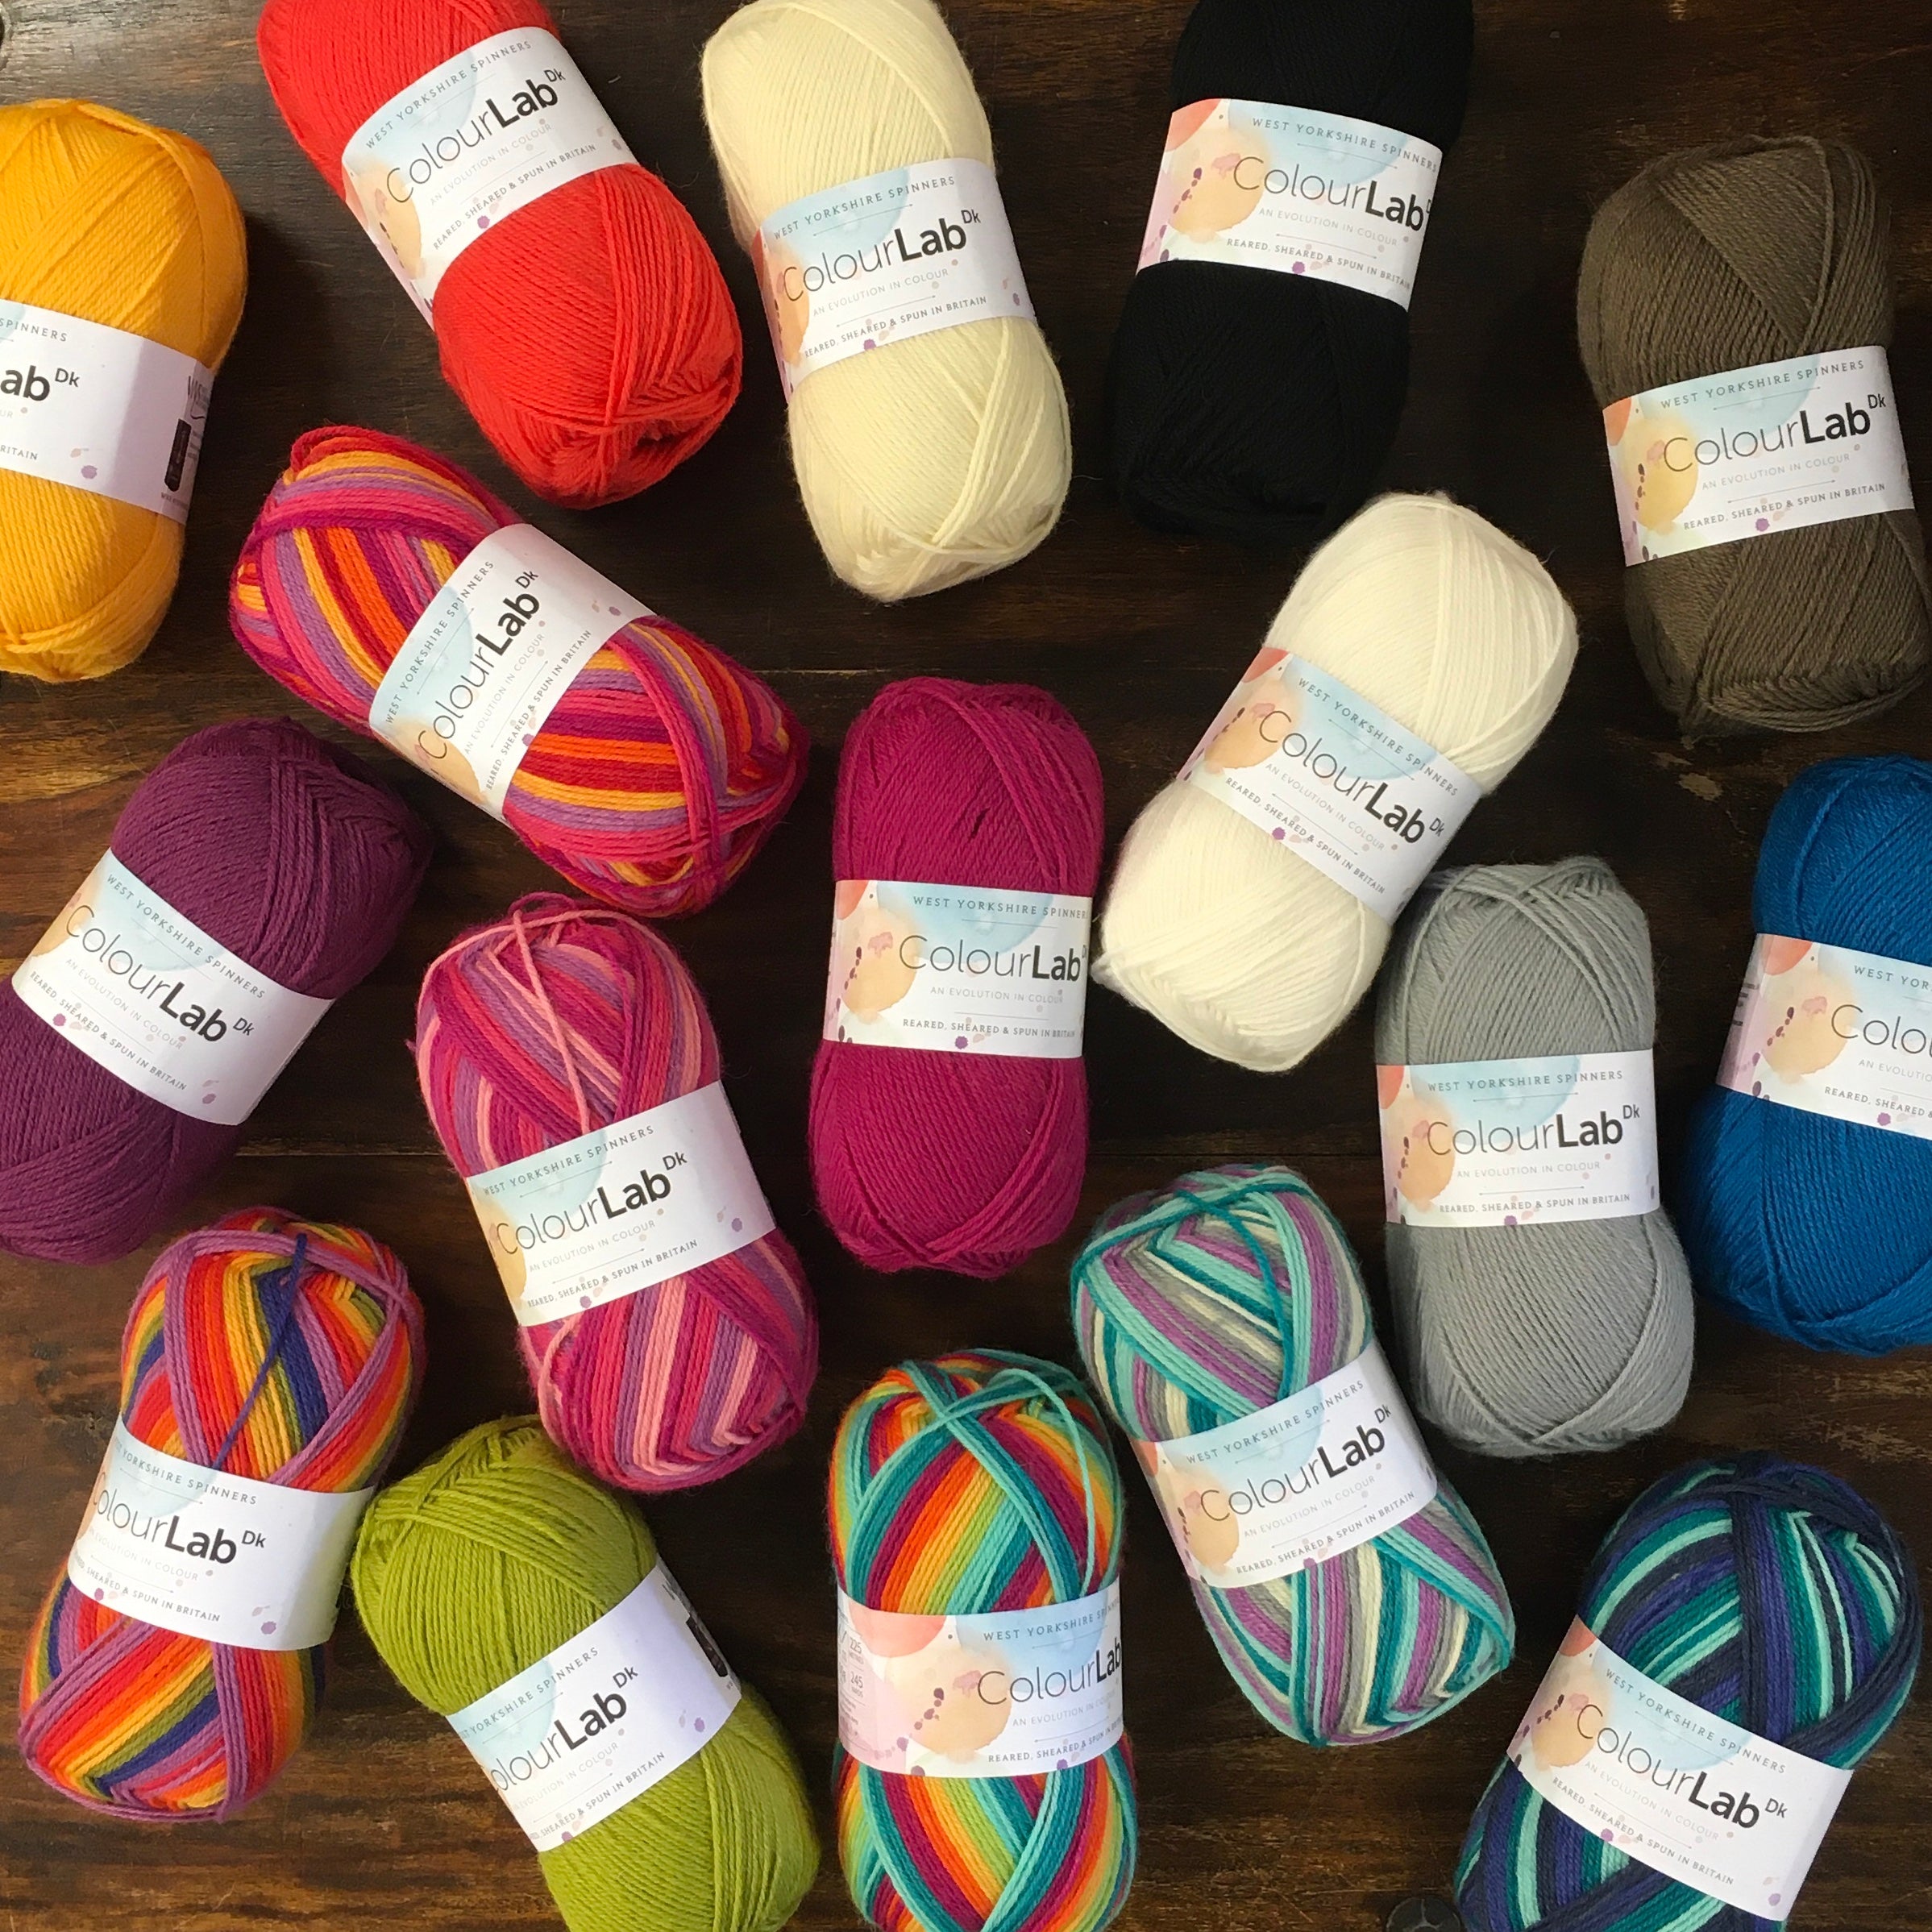
It's designed by Chloe Elizabeth Birch and is from the book Life in Colour and uses WYS ColourLab DK. It is also available as a single pattern on Ravelry.
It has sizes from 28" to 50". You can see measurements and yarn requirements here.
I started Sami in April 2021 so only it took a year. I am a slow garment knitter.😆
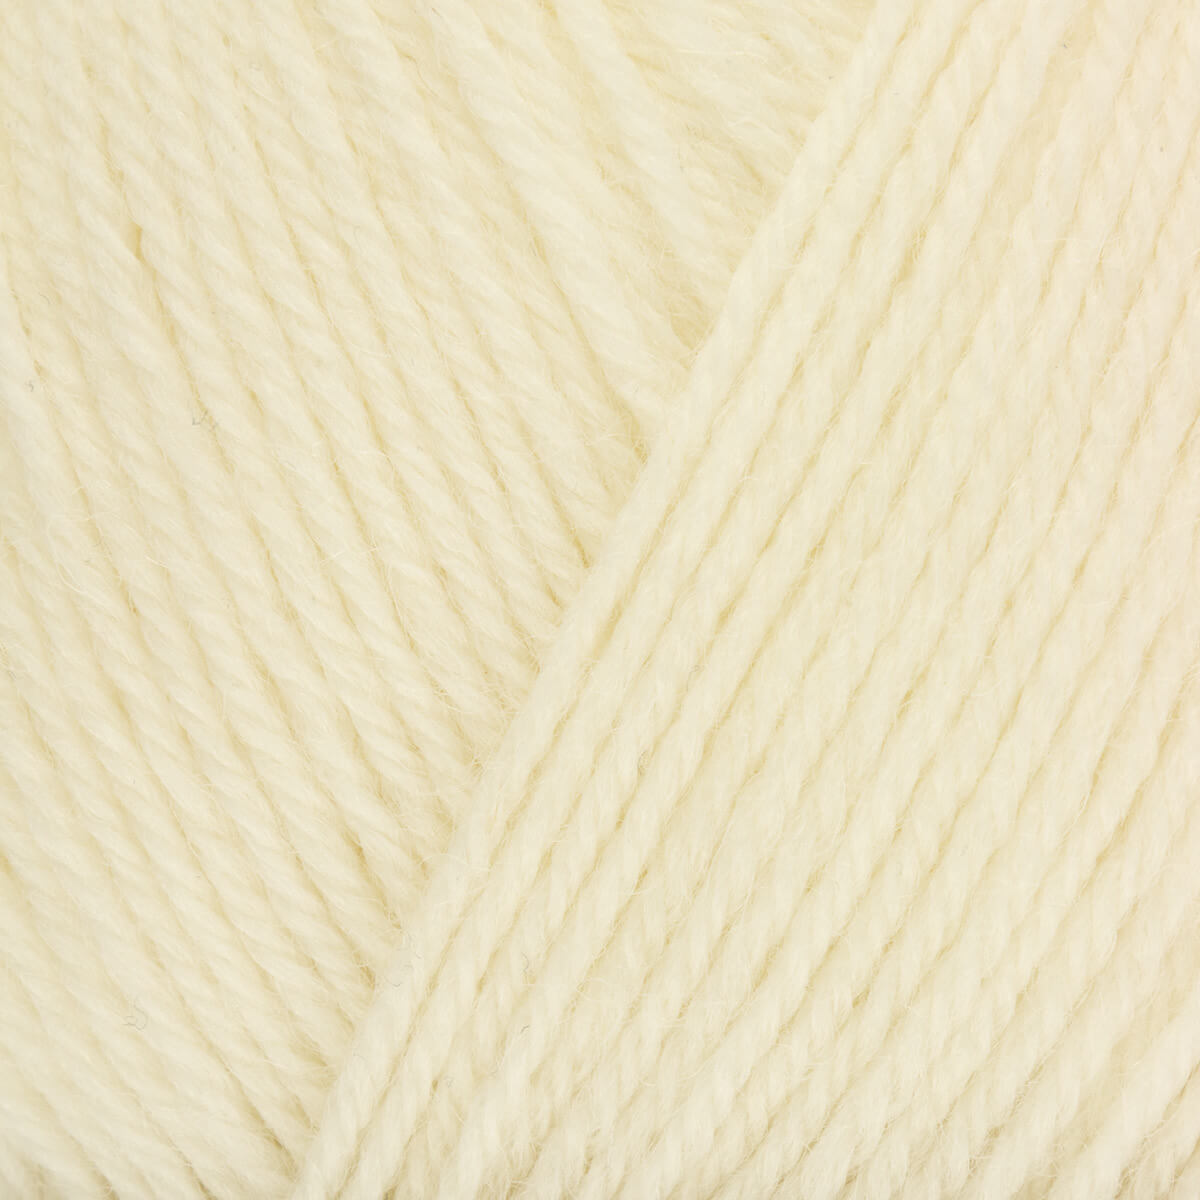
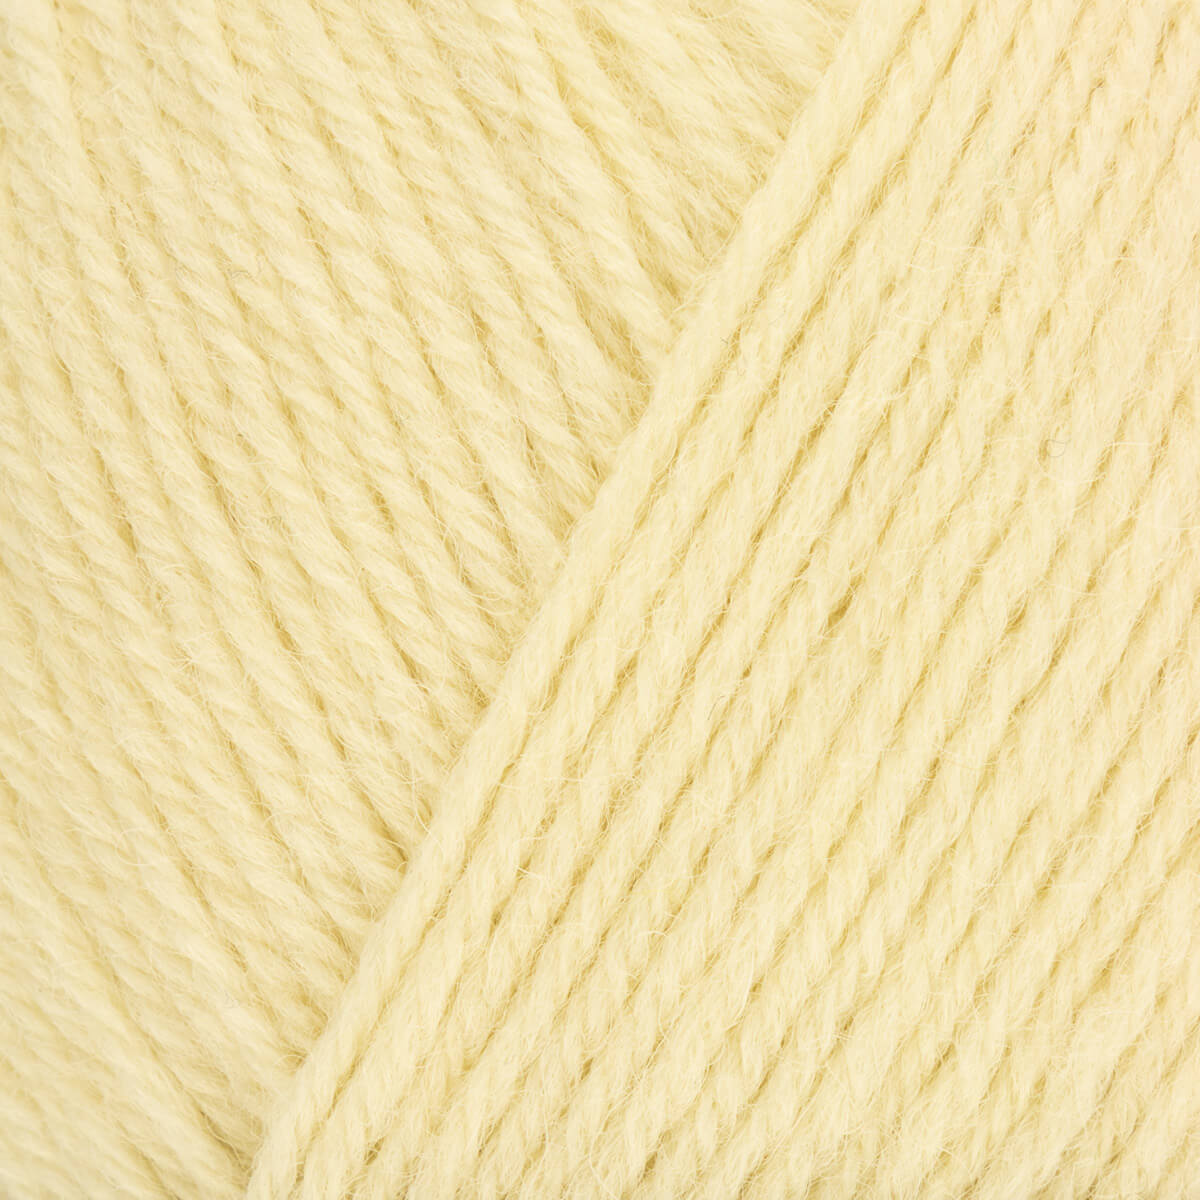
If you haven't been following the WiP blog posts - the original pattern uses two solid colours of WYS Colourlab DK - one pink, one grey.

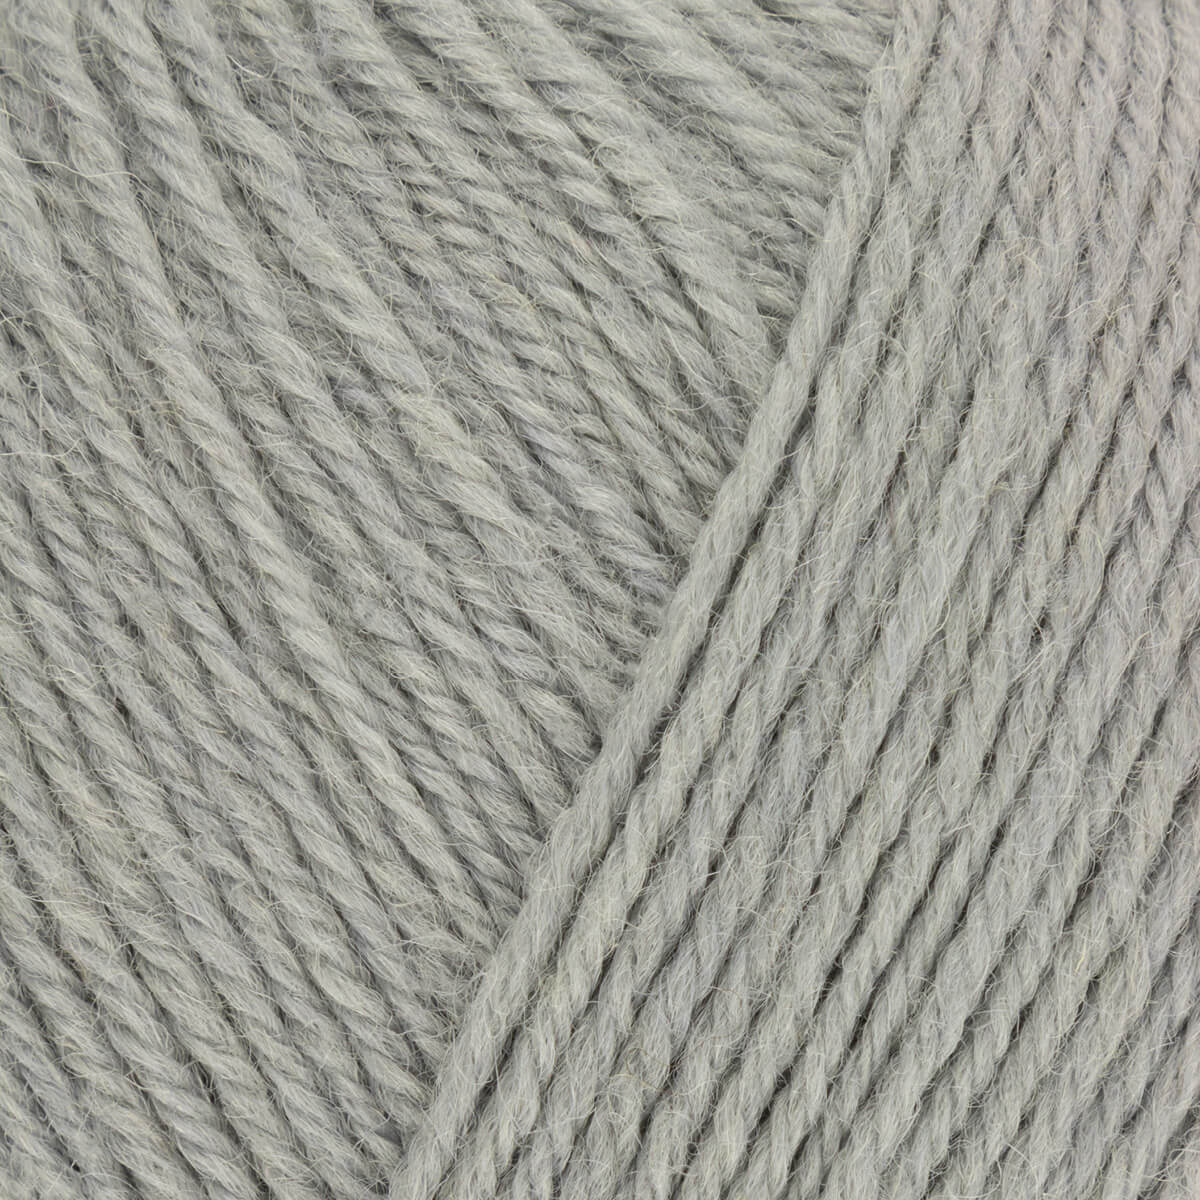
Instead of two solid colours I used ColourLab DK shade 914 (a stripe of yellow, orange, red and lilac) and shade 137 a light grey.

Sami is not just colour stripy. It's also texture stripy with garter stitch bumps and slip stitches. It's simple to knit and very effective especially with the self striping yarn.
It's not just the stitch pattern that is simple but the boxy shape and drop shoulder means it is also a very straight forward jumper to knit.
I knitted the cropped version but there is also instructions for a longer length (an extra 12cm). And there's also Seb which has the same ladder stripe pattern but is much longer with full length patterned sleeves.

The shop sample is cropped and knitted as written in the pattern. However there are several ways to tweak this simple pattern, if you're up for some creative thinking.
I've identified three mods of varying complexity.

The simplest one is at the shoulders.
In the shop sample I was working a slip stitch row at the same time as doing the shoulder decreases (by casting off). This left me with a tricky edge to sew up as some of the stitches were slip stitches and some were garter stitch bumps and others were stocking stitch. If I were to knit it again I'd consider making that part of the shoulder shaping just stocking stitch in one colour (probably the dominant grey). It would give a smoother (and easier) finish.
The second mod also concerns the shoulder. Instead of casting off in steps you can use short rows to shape the slope of shoulders and leave 'live' stitches that can be bound off in a three-needle-bind-off.
There is an excellent tutorial here which shows the method and you can see a three-needle-bind-off here.
This technique can produce a less bulky shoulder seam and saves any tricky sewing up. It can be used in lots of bottom up sweater patterns and I know some of you already use it.

A more complex mod is to knit this sweater in the round from the bottom up. This will take a lot more thought! And after writing this, I'm not sure I would bother...
Converting a sweater pattern knitted flat to a sweater in the round is a popular technique but not suitable for all designs. Sometimes you really need a stabilising side seam. But it does have it's benefits. It reduces the amount of sewing up and it also means a self striping yarn will transition across the front and back of the sweater (it will also mean the colours in the self striping yarn will be narrower as the yarn is travelling across a larger number of stitches).
Converting Sami will take a bit of effort as it uses knits and purls to create textural stripes.
When you knit in the round you don't purl to make stocking stitch so to get the same effect you really need convert the pattern: rewriting it before you start. This article has a helpful guide.
And it will help if you've knitted in the round before and are confident in reading your knitting to identify knit, purl and slip stitches, especially where the yarn needs to be to keep the slip stitches correct.
You may also need to change the number of stitches you cast on as flat knitting patterns have extra edge stitches to allow you to sew up the pieces. So you will need to reduce your cast on by 4 stitches (2 from the back and 2 from the front). This will also have an impact on any stitch pattern. In the case of Sami the ladder stripe pattern includes an edge stitch. So you need to take that into account when rewriting the pattern.
You should use stitch markers to mark the beginning of the round (which could be a side seam) and the other side seam. Marking the side seams means you know where your sleeves will go and you can easily and correctly divide the front and back.
Once you get to the underarms you need knit the back and front separately back and forth. Obviously remembering to cast off some stitches as specified in the pattern. You could add steeks (there's some links here) But that's a whole other mod!
Changing to back and forth will affect the stripe pattern though as your self striping yarn will now be travelling across less stitches.

Whether you do it in the round or knit it flat as instructed you will need to break the yarns to work the neckline. I tried to match the self striping yarn so the colours were roughly the same on the left and right side of the neck.
Once you've joined your shoulders there is also scope to do your sleeves in the round, picking up stitches from the armhole and knitting down. You do need to put a bit of thought into that but at that point you can try the jumper on and taper the sleeves to your own preference.
I have not done any of these mods on our Sami. When making shop samples I try and follow designs as written so it represents what people can achieve with the same pattern. If I were a speedy knitter and not distracted by shiny new yarns and patterns I could knit another Sami demonstrating short row shoulders, knitting in the round and seamless sleeves.
But I am not a speedy garment knitter (it's taken a year to finish this jumper) and I have just cast on Melody, a sleeveless top in the shiny new WYS Elements DK yarn.
Unfortunately it doesn't have sleeves or even shoulder shaping. And it has a knit and purl lace pattern that I'd rather not rewrite for circular knitting. I'll try it in the next flat knit sweater, promise!


