Malibu designed by Isabell Kraemer is a large triangle shawl. The pattern is available to buy on Ravelry.
It uses slip stitches and stripes to create a bold pattern ending with a tidy 3x1 rib.
The pattern has instructions for three or two colours of yarn and you can make it smaller or larger by working less or more repeats in the sections. Remember, that will affect the amount of yarn you need.
It was the two coloured version which caught my intention so I knitted that one for a shop sample.
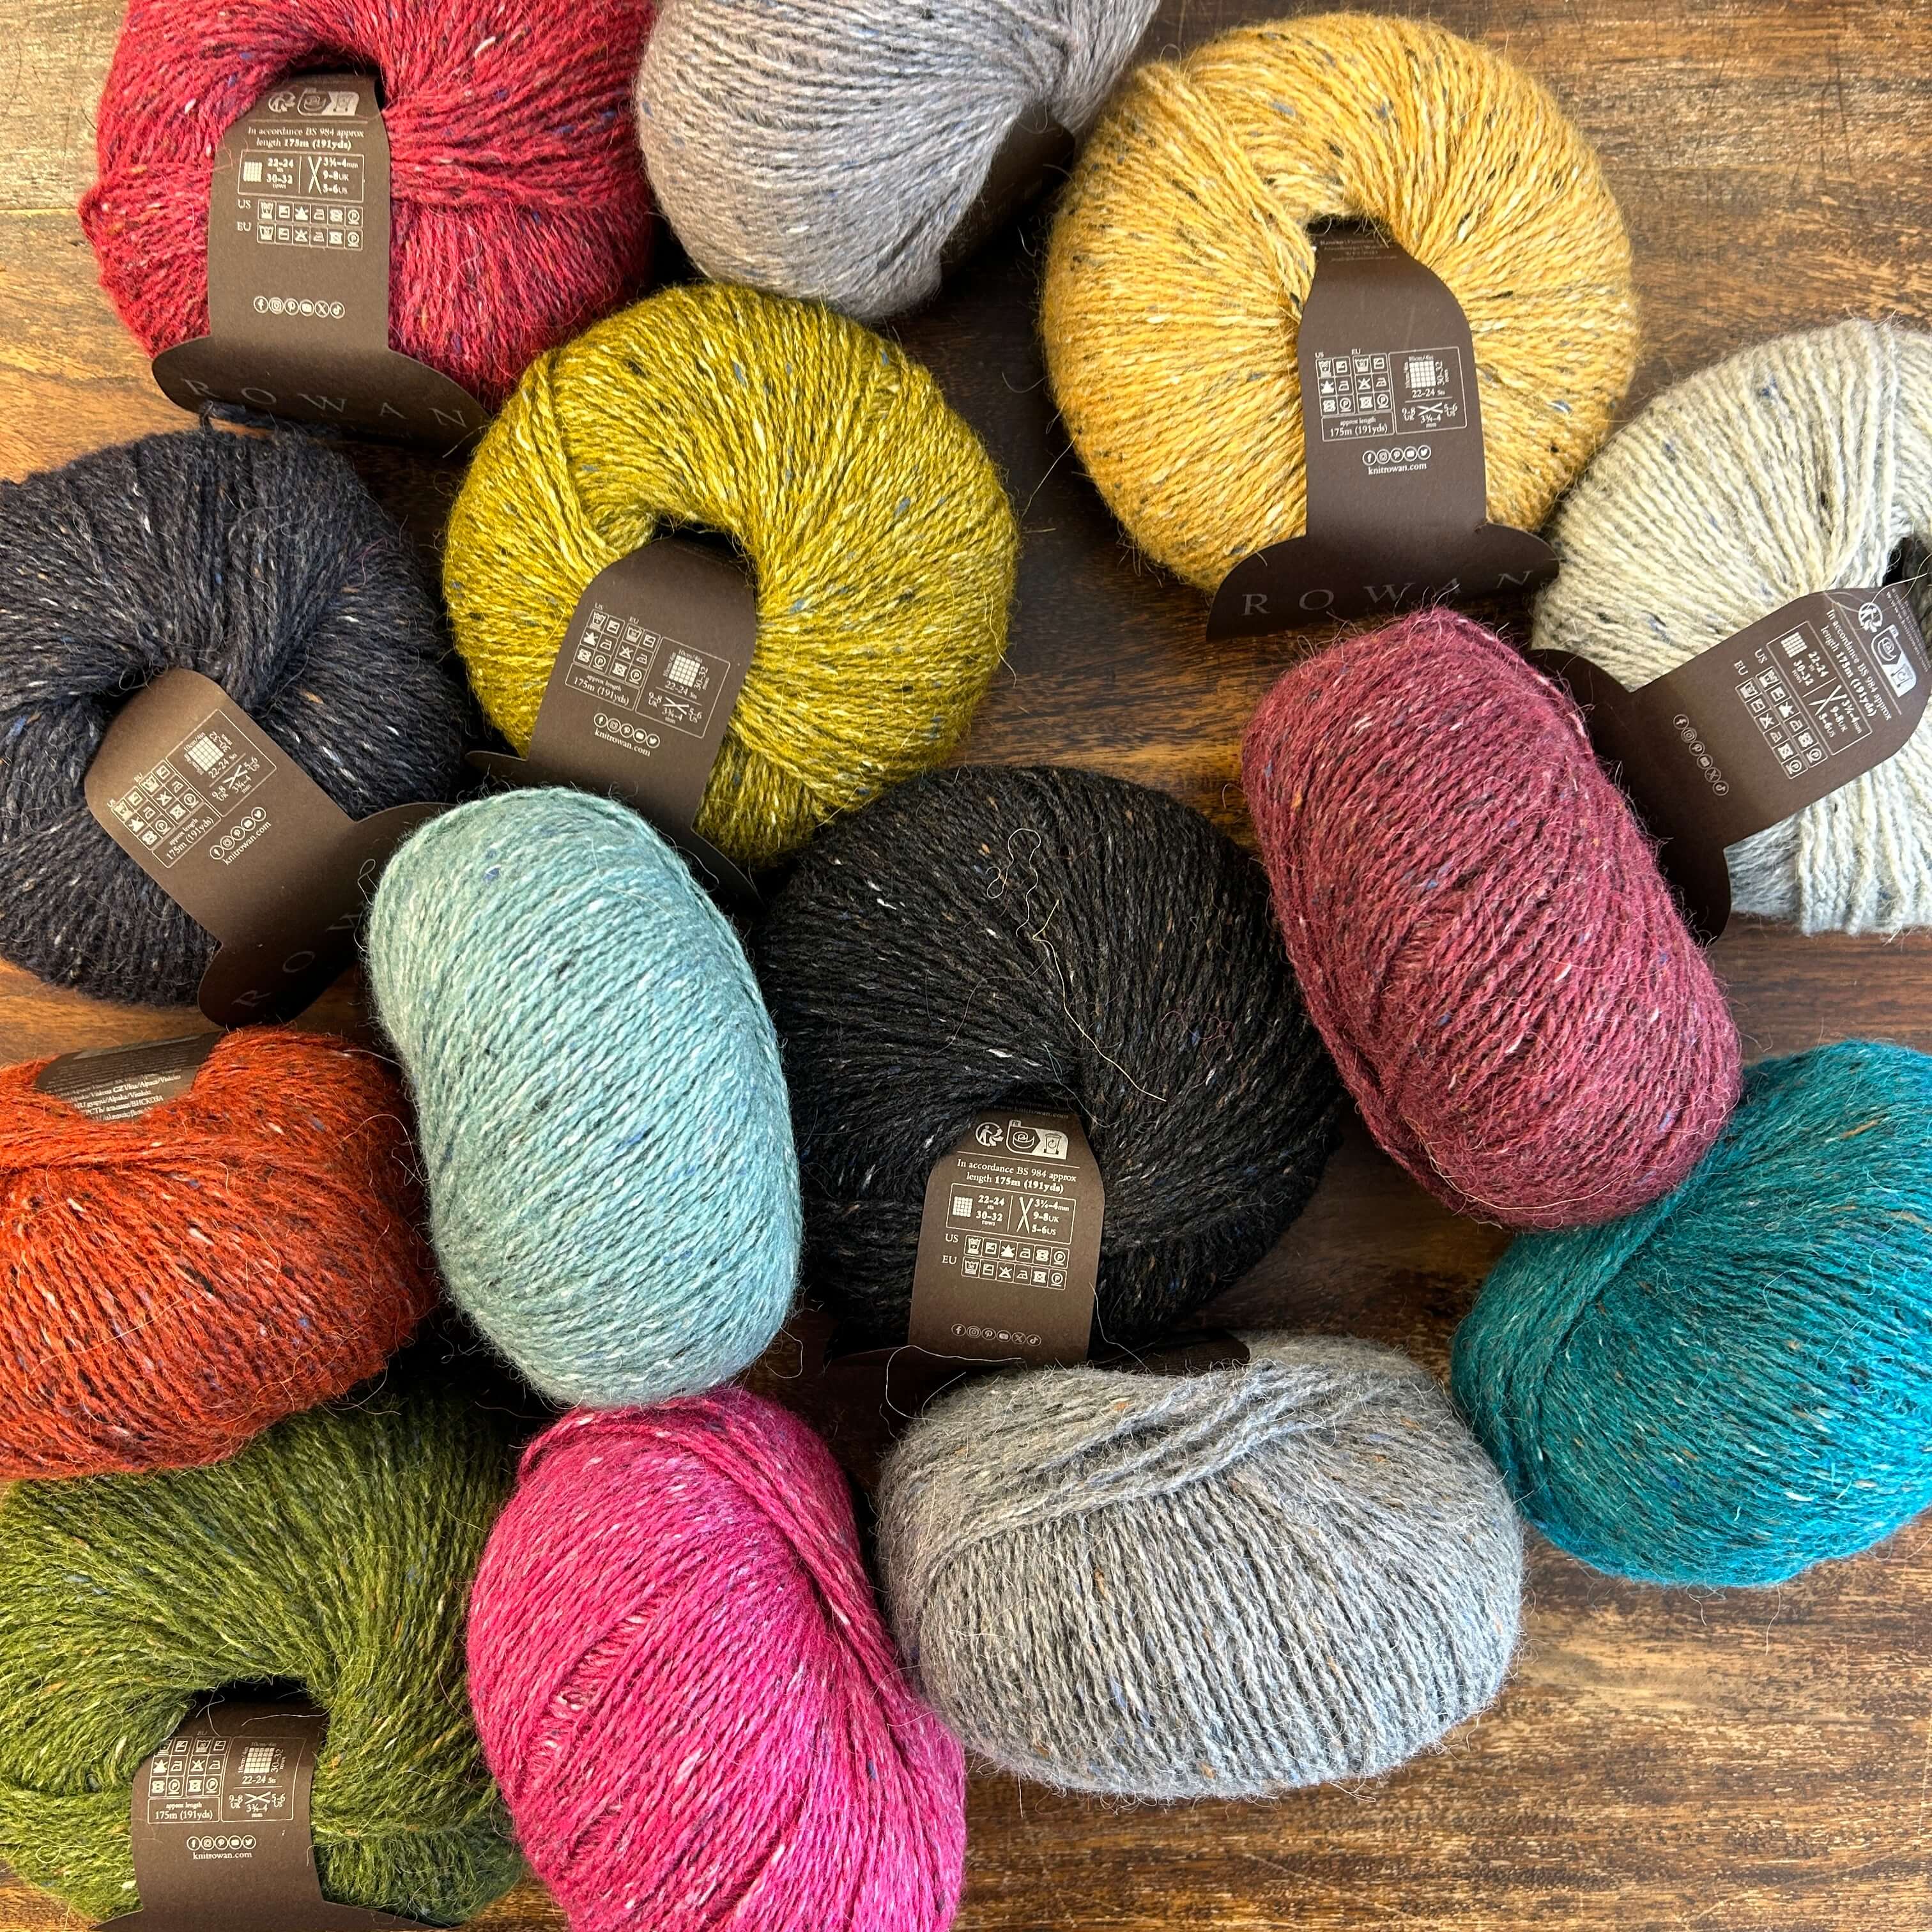
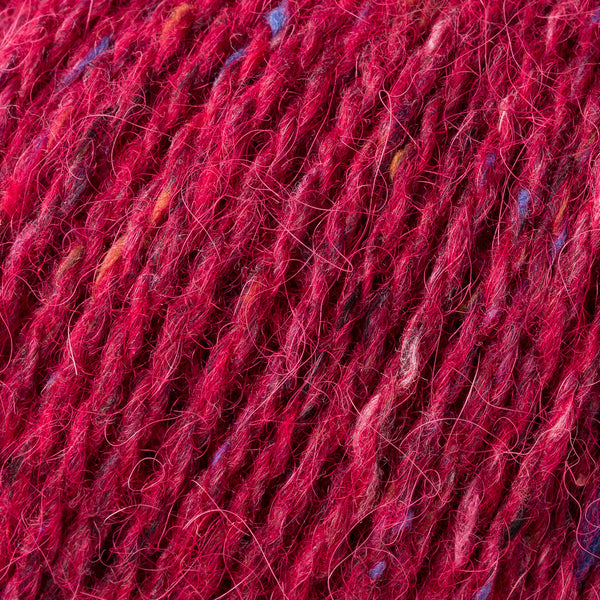
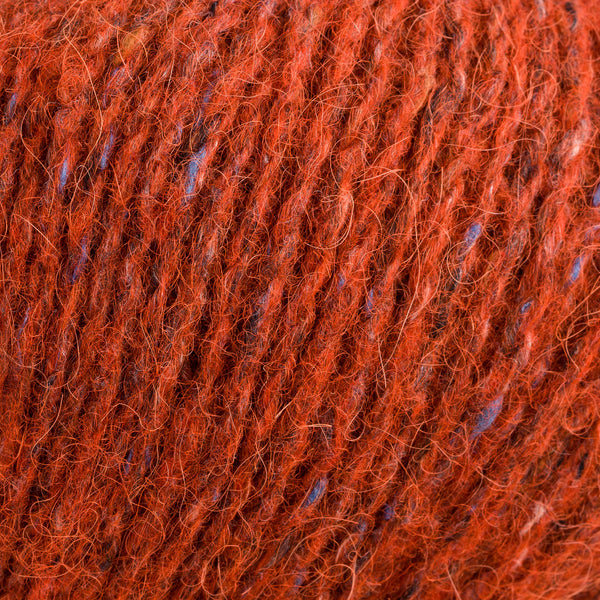
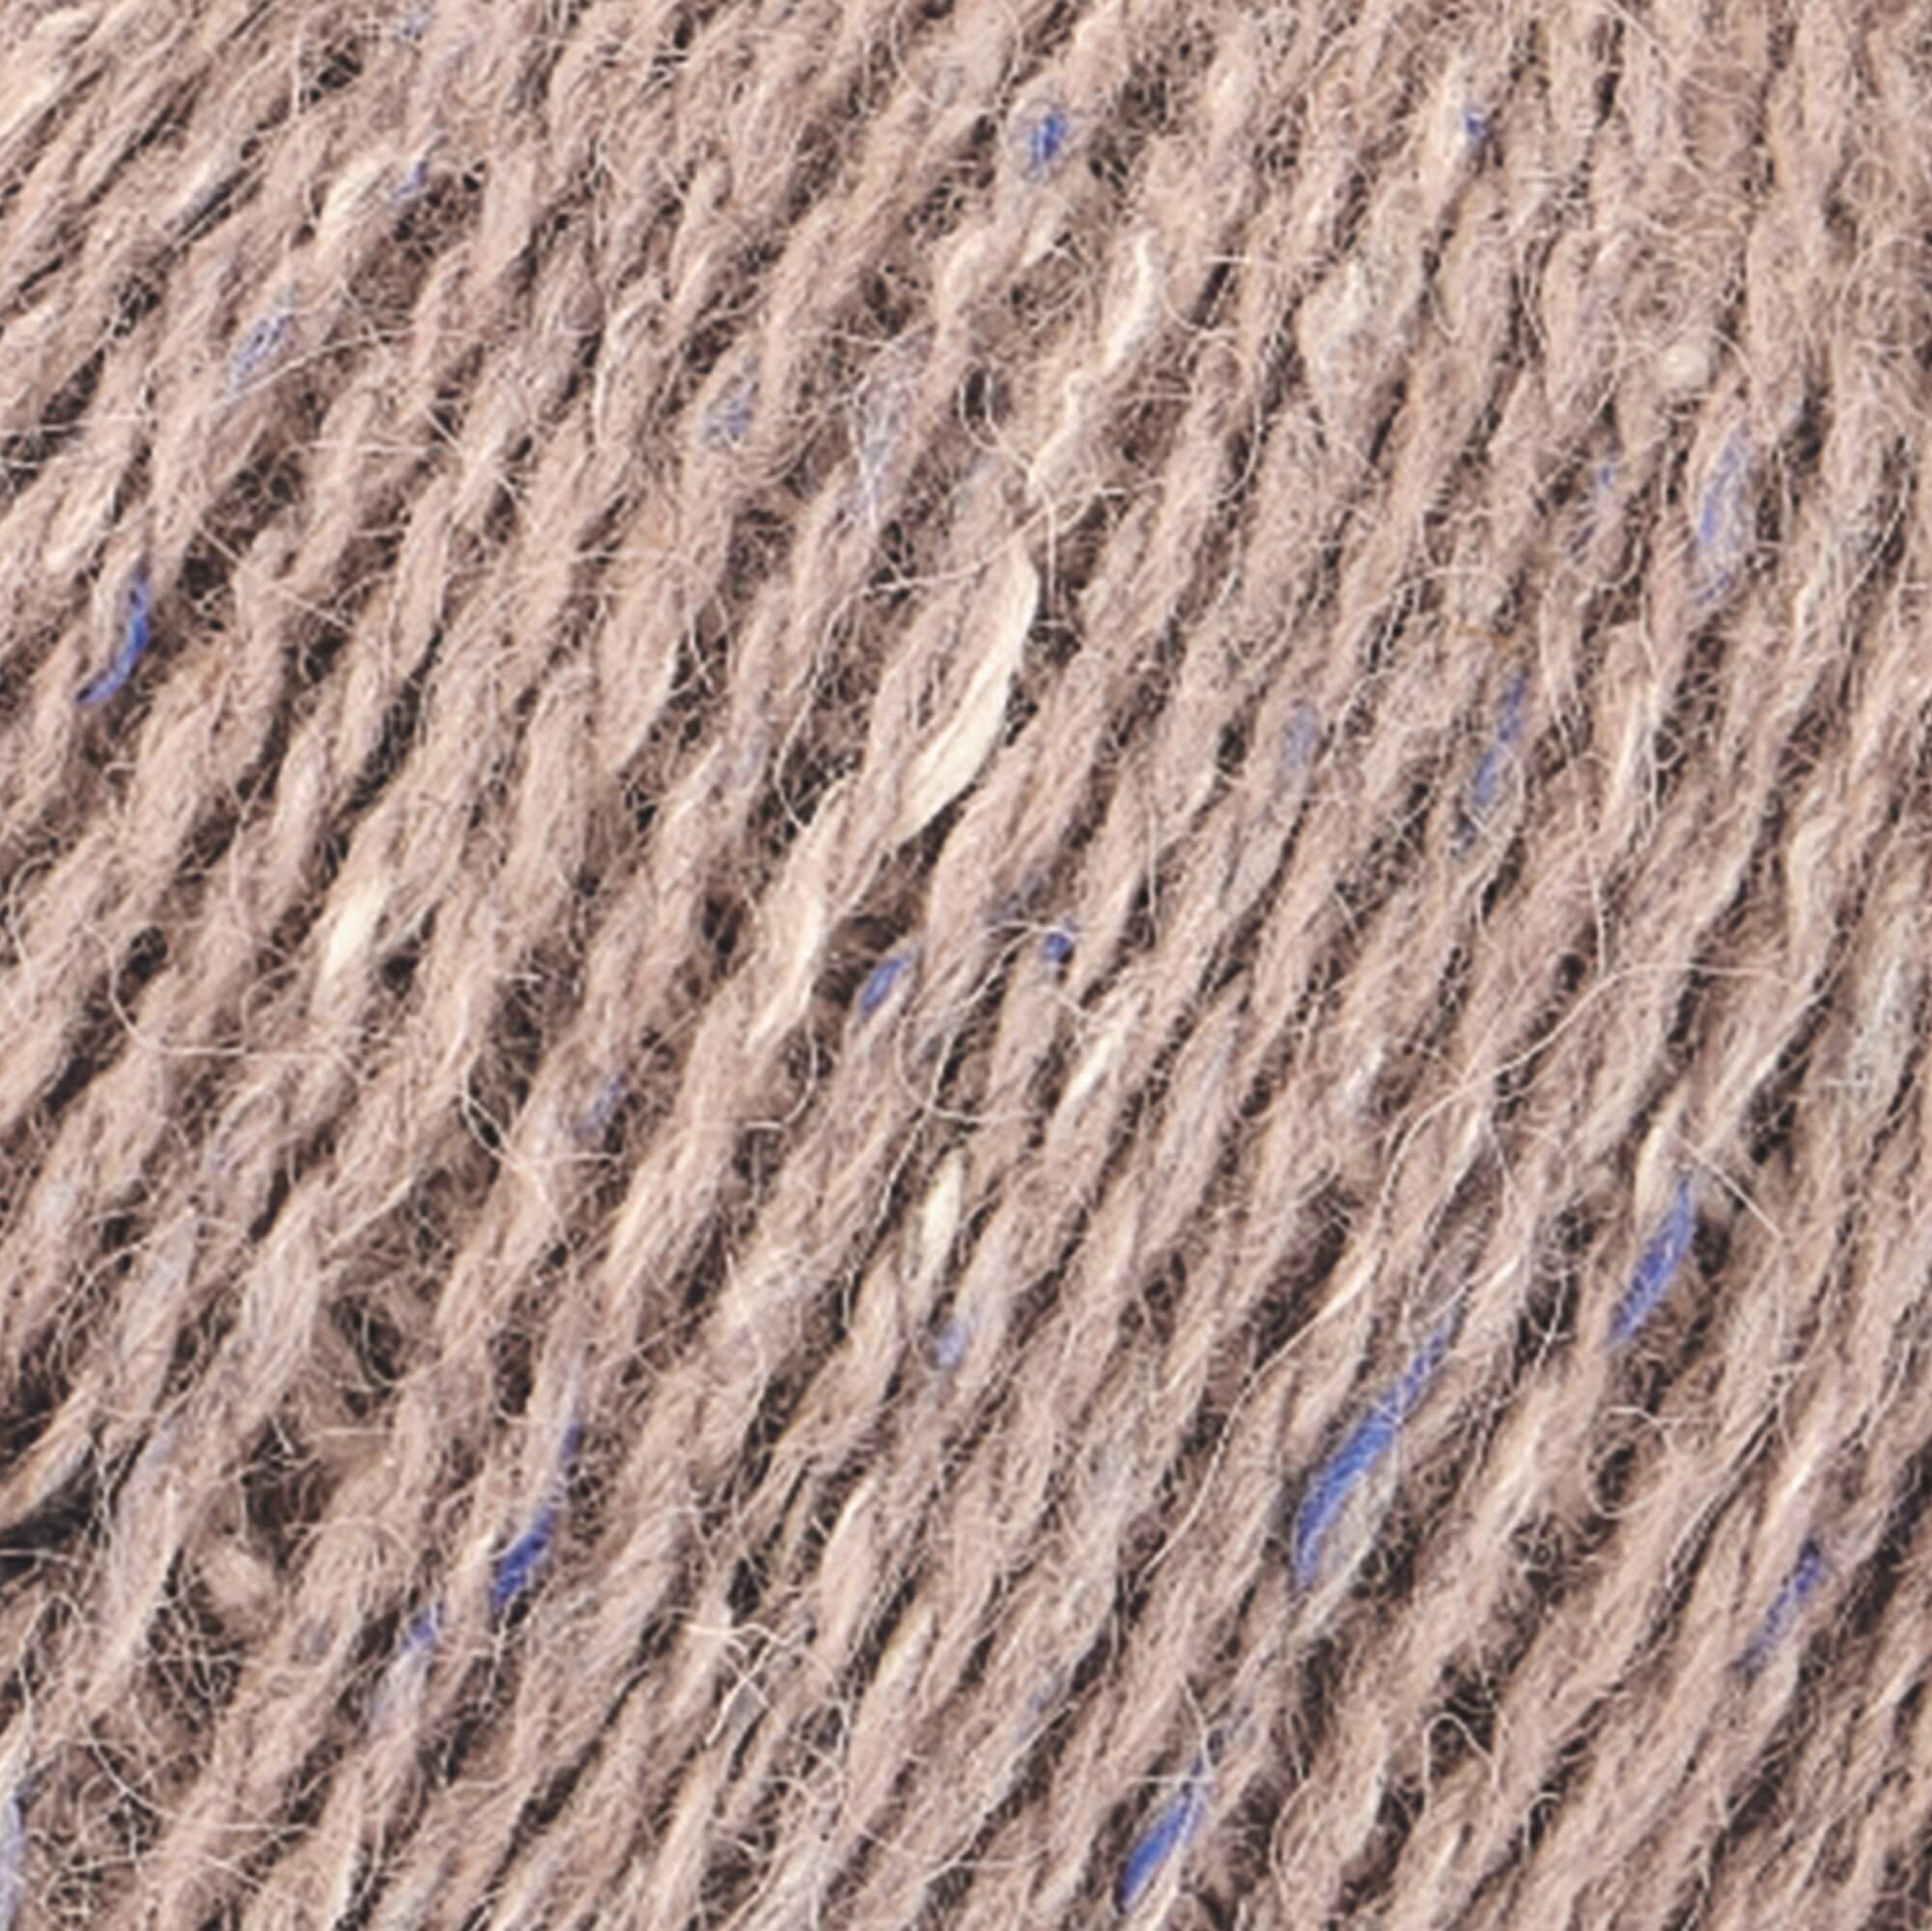
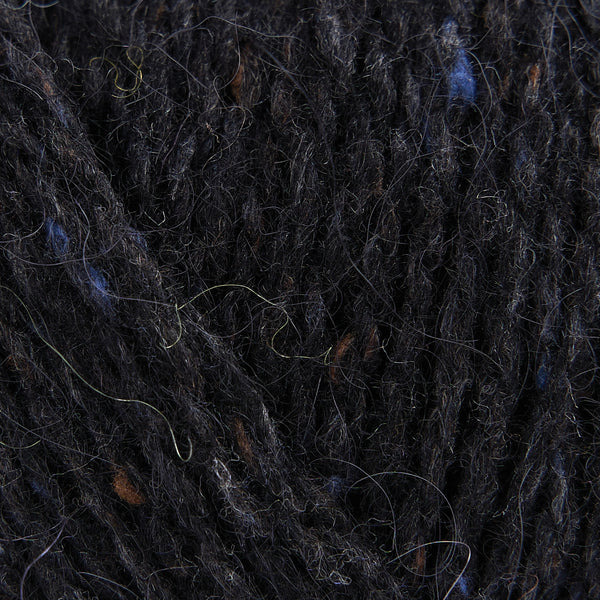
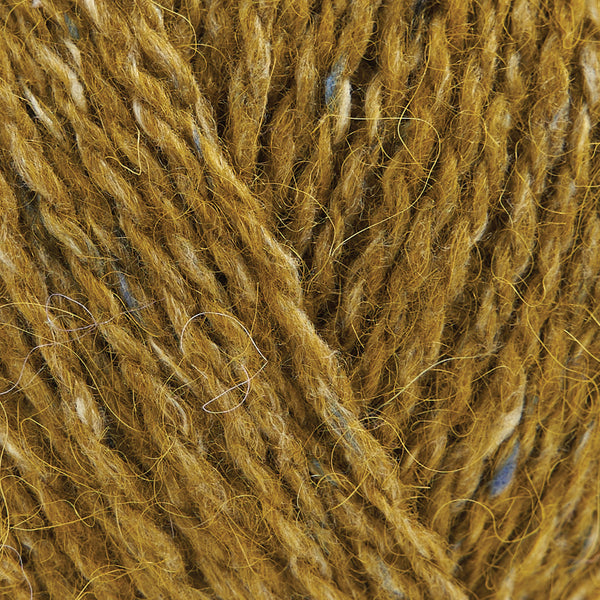
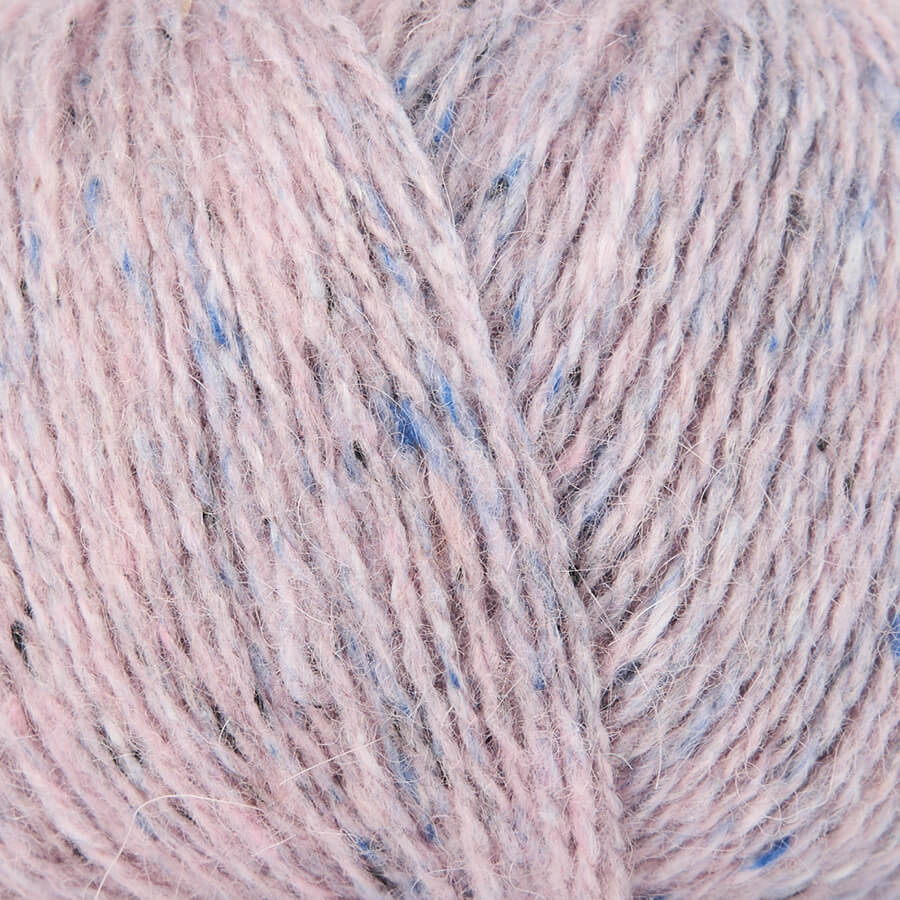
The pattern is designed for a sportweight yarn. Sportweight yarn is thicker than 4ply but thinner than DK. I chose Rowan Felted Tweed which is classed as a DK weight but it’s a lightweight DK so it can usually be used in sportweight patterns.
I was tempted to use John Arbon Yarnadelic (gorgeous handle and lots of colours) but the 50g balls of Felted Tweed seemed more practical (and it also has a lovely feel).
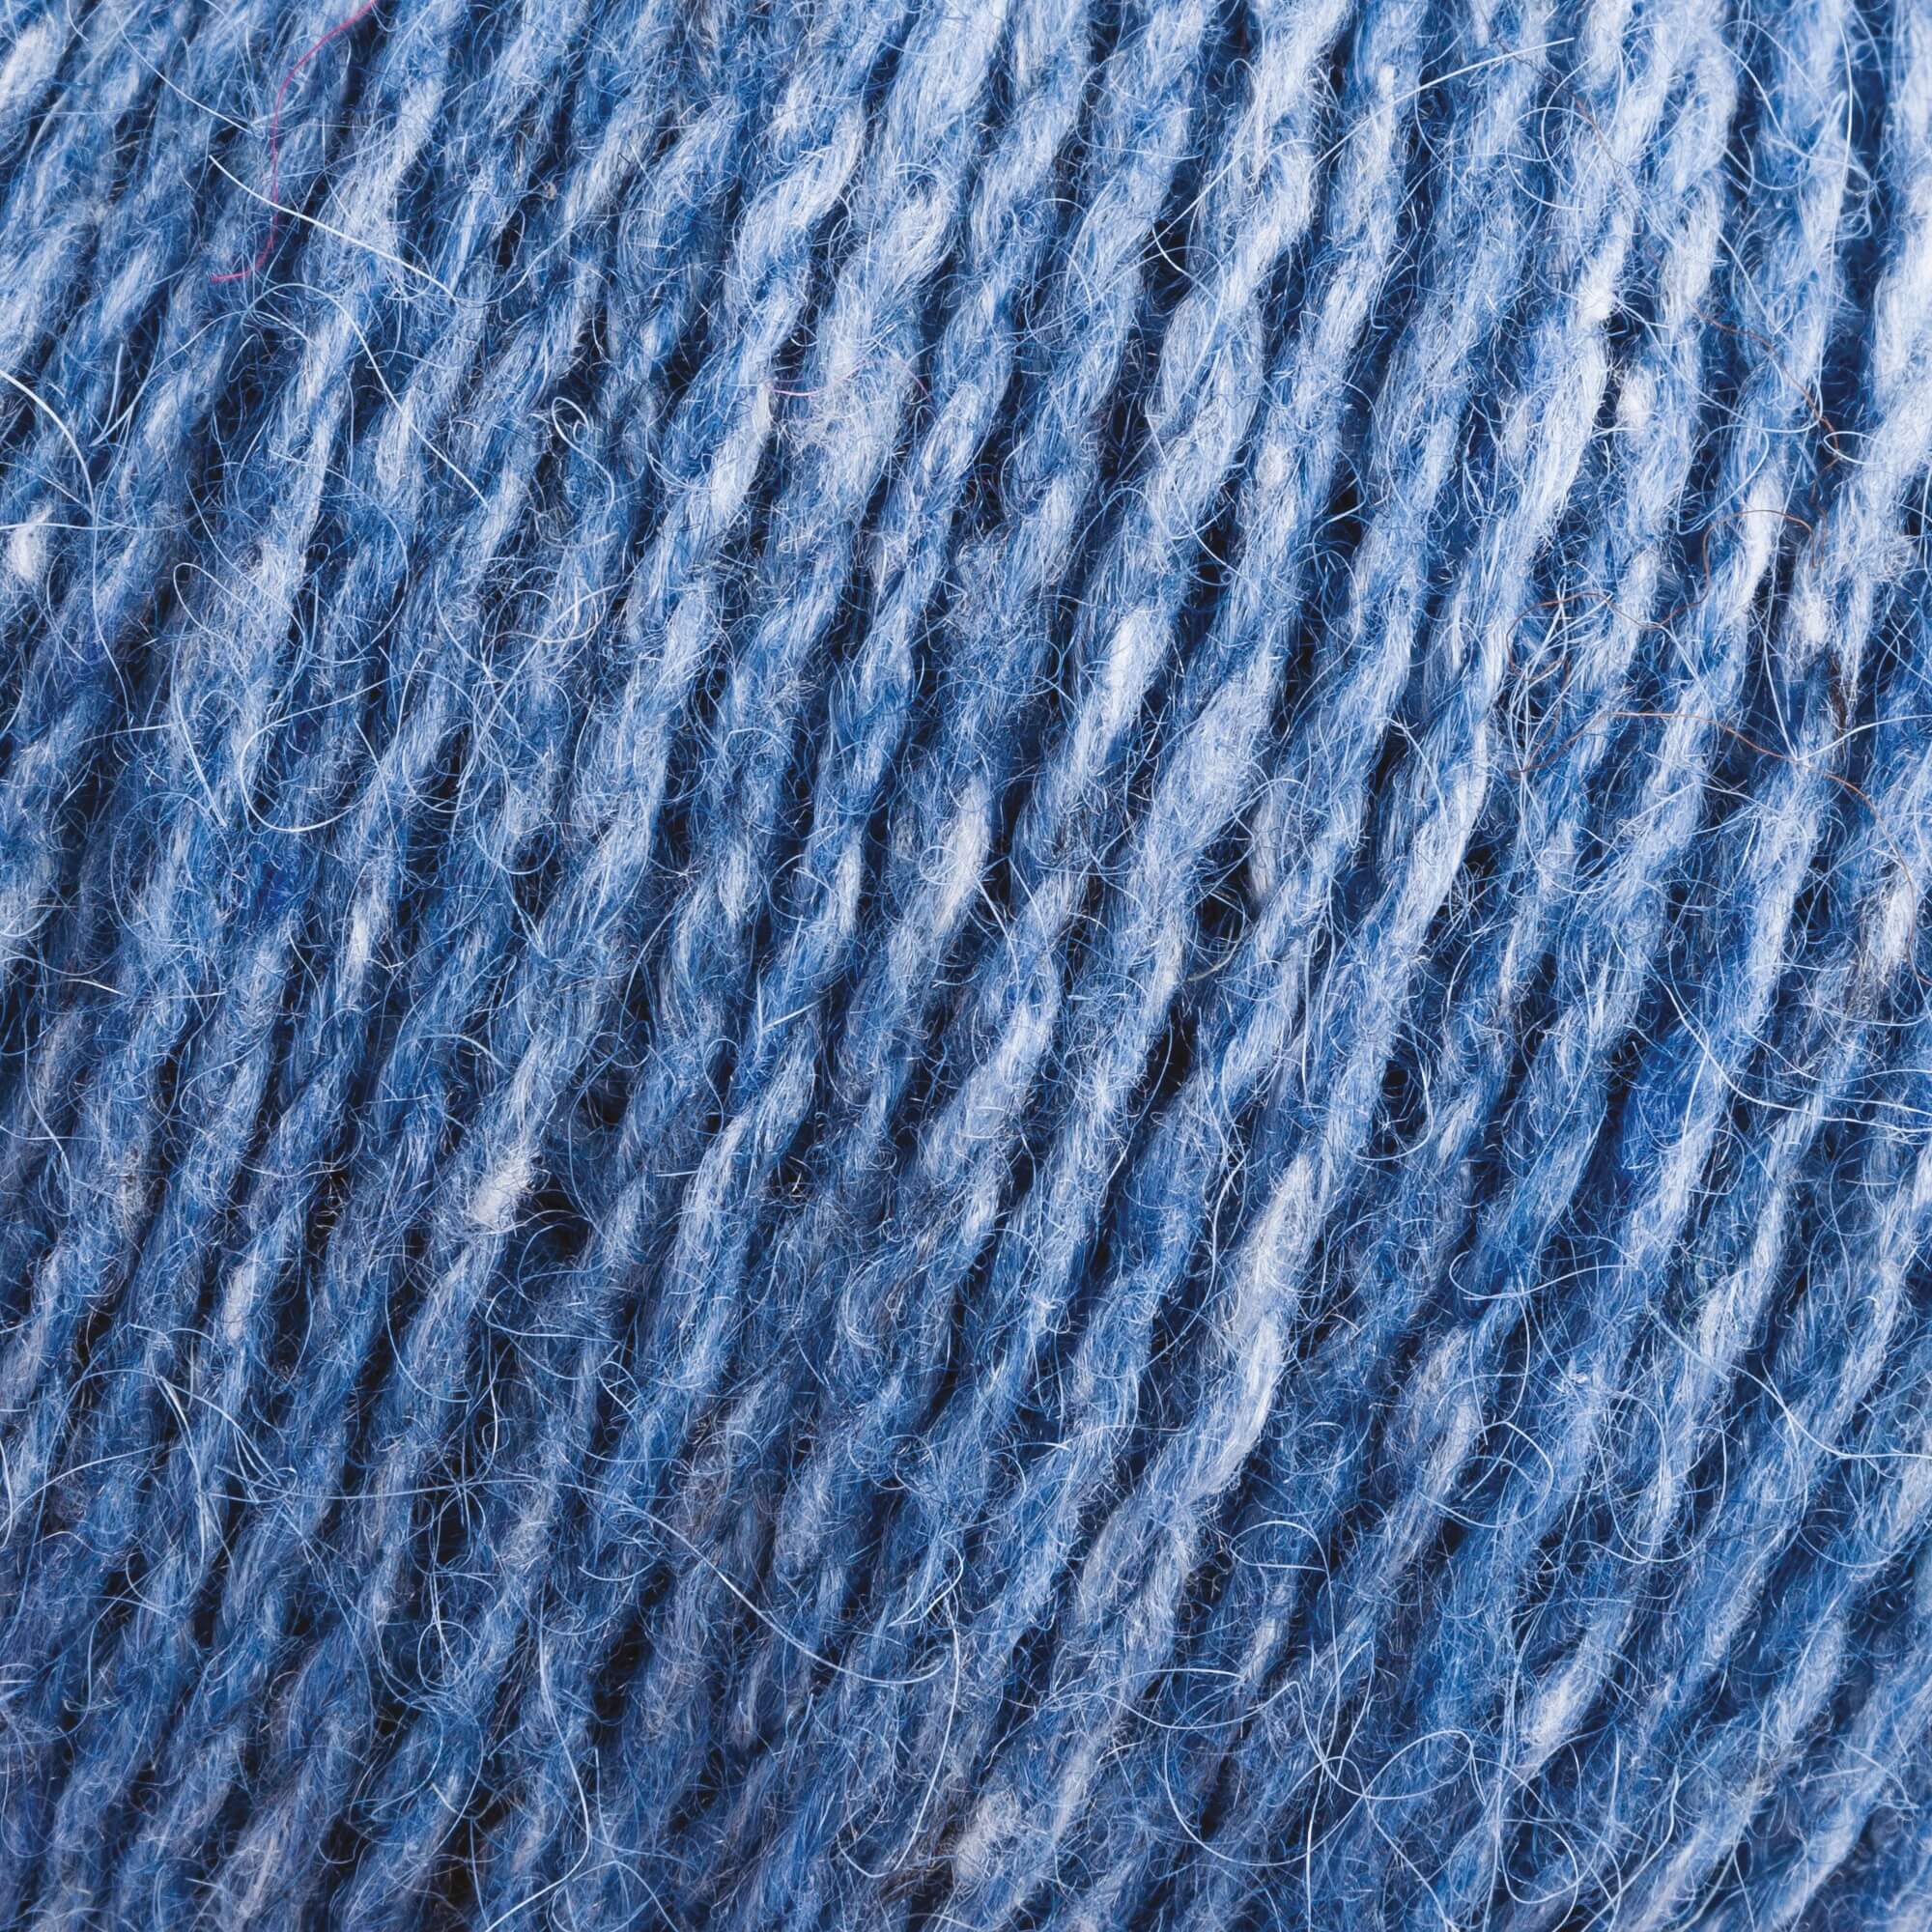
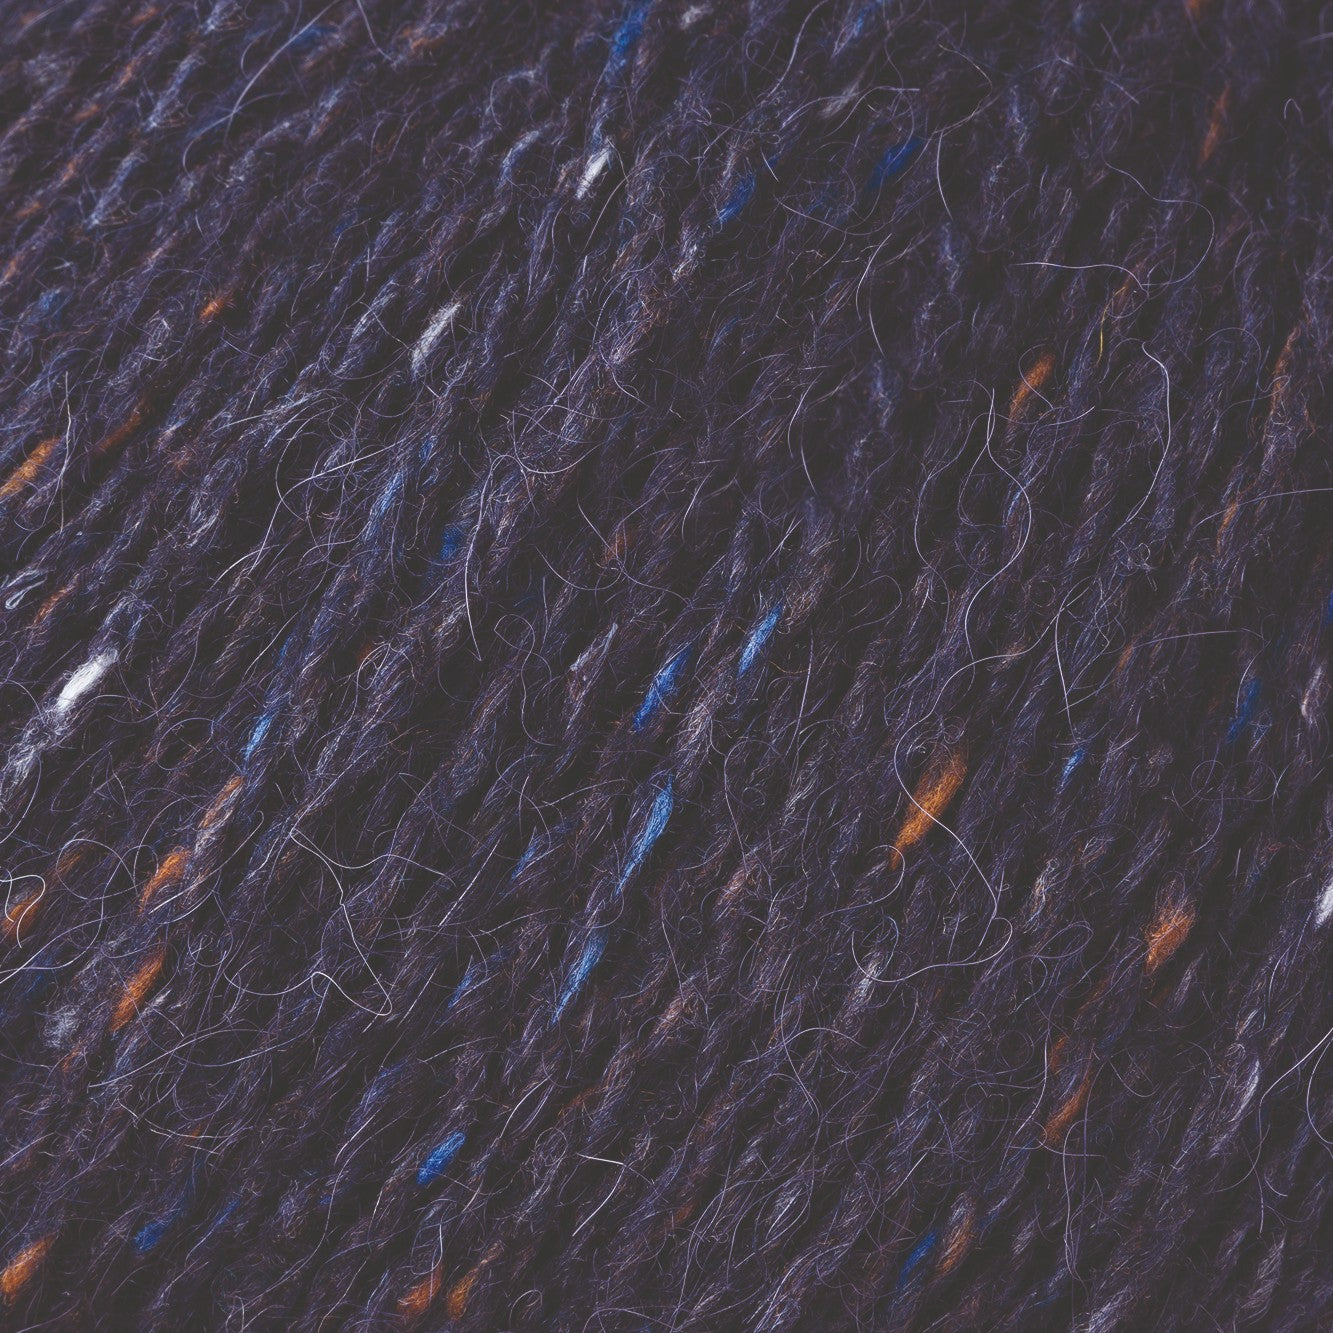
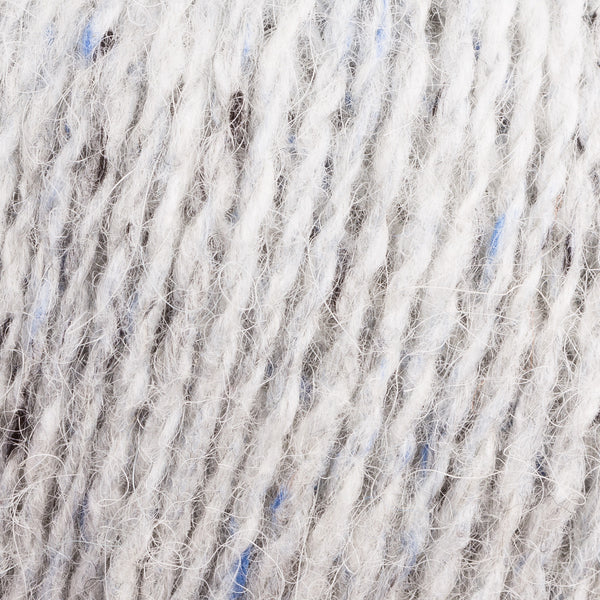
I used 150g, 3 balls, of Seafarer and 100g, 2 balls, of Alabaster. Seafarer is a lovely deep blue and combined with the very light grey of Alabaster I got a bold effect that’s still quite neutral.
Malibu's colourwork effect is much less complicated than it looks. You are only working with one colour per row. By using slip stitches you can make it look like you're doing stranded colourwork. And by changing where you hold the working yarn, and depending whether you're working on a right side row or wrong side row, you can create even more pattern and texture.
Slipping stitches is exactly what it sounds like. You simply move the stitch from the left needle to the right needle without working it. You don't knit it or purl it. BUT you do have to slip it as if you were going to purl it so the stitch is mounted correctly on the needle.
Because Malibu uses two different colours it creates a complex pattern with very little effort.

Malibu is a large shawl. It measure 2m across the the top and about 80cm at the deepest point. It's a whopper!


The size may look intimidating, especially if you've never slipped stitches before or made anything so large.
But, you begin at the top with only a few stitches.
You start with a garter stitch tab. This allows the cast on to flow into the garter stitch edge. You will cast on as normal, knit a few rows to make a rectangle then pick up stitches around the rectangle. Just follow the instructions as written in the pattern. If you need a visual guide check out this photo and video tutorial by Ysolda.
From this rectangle start, Malibu grows into a symmetrical triangle with an increase at each end and an increase either side of a central 'spine'.

When you start this way you're only dealing with a small number of stitches so you can get used to the slip stitch pattern and managing your two colours without worrying about doing it over 400 stitches.
The rows will get longer and longer but with each one you will grow in confidence and it will become more intuitive.
The slip stitch pattern is worked over 4 rows. Repeating these 4 rows over and over, combined with the different colours, will help you see what the pattern should look like and you will start to anticipate what should be next or indeed if you've made a mistake.
For me, Malibu happened very quickly. I saw and bought the pattern on 26th March and finished the shawl on the 28th April. Unheard of for me. 😆
Despite it being a large project I found it held my attention and even though the rows do get longer and longer the stitch patterns are very motivating. Both the slip stitches, which can be rhythmic, and the stripes which grow satisfyingly. A perfect pattern for (my) magpie tendencies.
(And by the time you get to the rib you're so close to the finish line that you just want to get it done.)
The pattern also tells you where to place stitch markers on your needle and I'd highly recommend you use them especially the two markers placed either side of the centre spine. These markers will tell you where to increase and they also protect the centre stitch. That way you'll keep your spine nice and straight and it won't wonder off.

Malibu will benefit for blocking after you've cast off (took me 56 minutes to cast off 425 stitches!)
Blocking in the broadest sense is a way of finishing your project to make it look it's best. It usually means washing and drying flat - gently pulling, smoothing and straightening your piece to specified measurements or to achieve a fabric and size you want.
For Malibu I washed in Eucalan, squished out excess water and laid it out flat on some foam mats (you can get them in the summer aisle of supermarkets). I used some blocking wires* to hold the top edge straight whilst I pulled out the bottom point.

I threaded the wires in and out of the holes made by the yarn overs. But I didn't put a wire through the cast off edge of the ribbing. Mainly because I wasn't confident I'd have the patience to do a good job of it. I didn't want to stretch the rib or make it pointy.
I left it to dry completely before unpinning.

To Recap.
Malibu is a digital pattern. You can buy it in the Pittenweem shop and it will be emailed to you or you can buy it on Ravelry.
We used Rowan Felted Tweed to knit our Malibu. You can use any other Sportweight yarn. You need 477m of your main colour and 317m of your contrast colour for the two colour version.
I used less than 3 balls of Seafarer and just less than 2 balls of Alabaster.
You need a 4mm, long circular needles and 3.75mm for the ribbing. I started with a 60cm long needle before moving onto a longer 100cm needle. I just find the shorter needle easier to handle when working with less stitches. You can knit the whole thing on the 100cm (but not knit the whole thing on a 60cm, you'll have way too many stitches!)
You'll also need 4 stitch markers.
*We do have blocking wires in the Pittenweem shop. Unfortunately they are a bit awkward to post so they are not available online.


